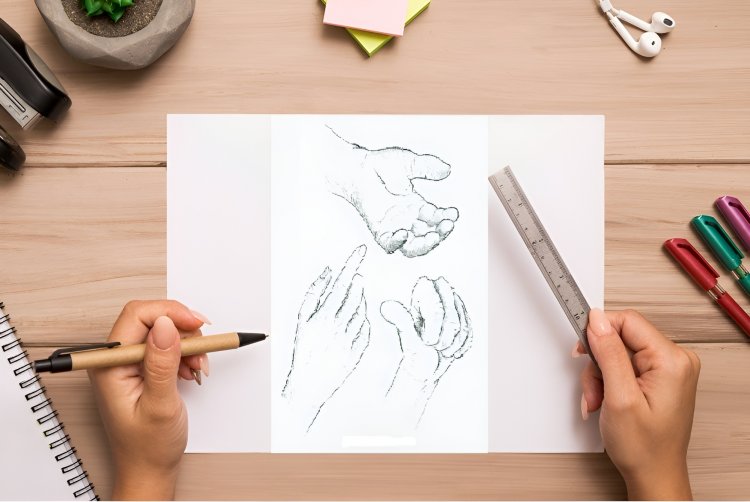
Learn To Draw Hands Step By Step With Pencils
Sketchytips.com teaches how to sketch human hands step by step. If it's your first attempt, then don't worry; here is proper guidance for you.
DON’T OVERTHINK ABOUT DRAWING HANDS.
I think everyone, and mostly beginners, has a fear of drawing hands. So when they draw hands, they hide them in the pockets or sometimes behind the drawing figure. They do that because some of them don’t know how to draw hands, and they don’t practise it to make it perfect, so they always try to ignore the hands. But it is not good for an artist or a beginner; in the drawing field, everything is important to learn. I hope you are not among these artists and beginners. and I also hope you can learn many things from this article. I will try my best to teach you in an easy way. In this article, I will tell you how to draw hands easily and perfectly using a simple method. I only give you a method, but it all depends on your practise. Practise it again and again, because without practise, you cannot do anything or achieve anything in your life. I say this because hands drawing is not very easy; it is very difficult. When I was at the beginning level, I faced this difficulty, but I did a lot of practising. Now I can't face any difficulty drawing anything because, in the field of drawing, it is necessary for us to learn all kinds of things. If you are a beginner, then don’t worry; I’m here to teach you. So let's begin and learn something new.
Material 1 HB pencil
- 9B and 6B or any dark pencil you have
- Papers or sketch books
- Paper stamps
- Eraser
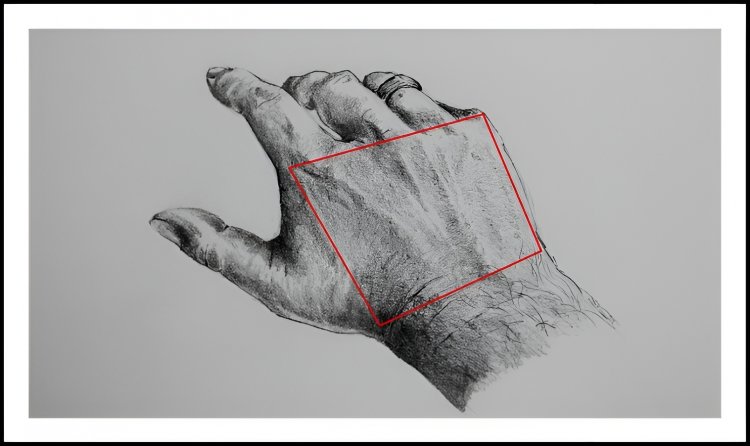
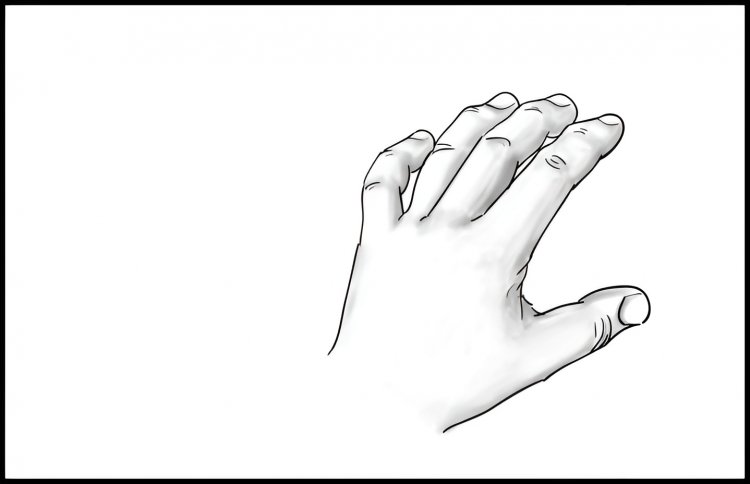
You absorb the pose of the hand and find shapes.
As a beginner, if you can draw a hand with a reference photo, it is important for you to see your reference photo first, absorb it well, find basic shapes in it, and then draw these shapes on your paper. So it becomes easy for you to draw anything.
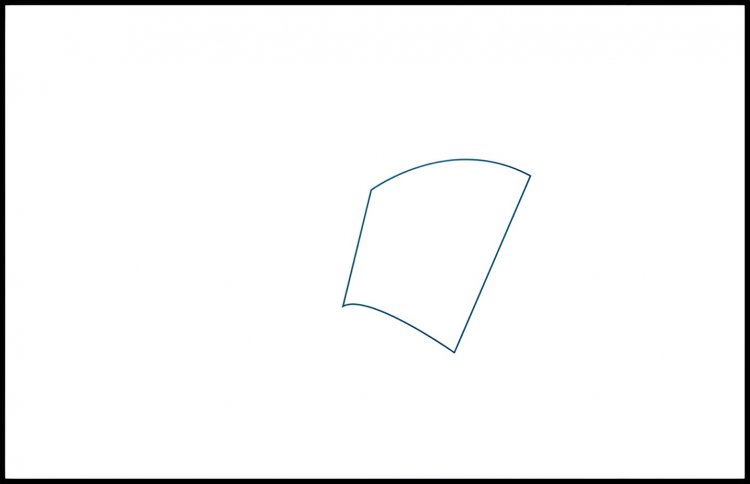
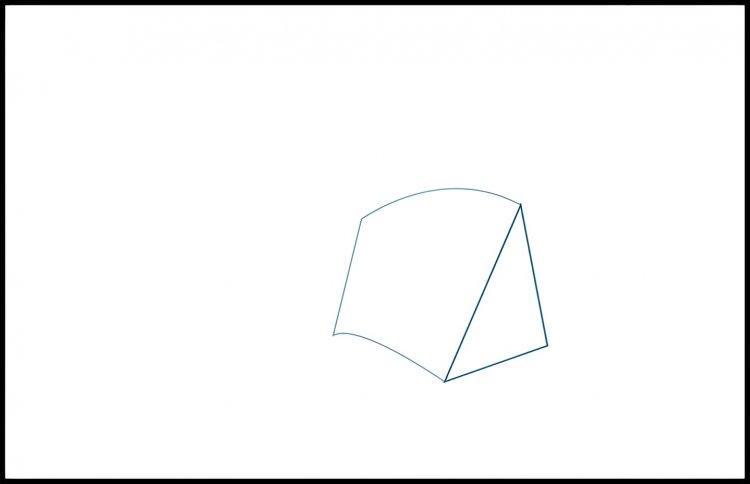
Step 1: Now in this image, I see that the first shape is square. Which is actually the palm of the hand and a sheet of paper may having a rectangular shape, but it is bent and even seems curved from some angles, which is why we call it a square shape.
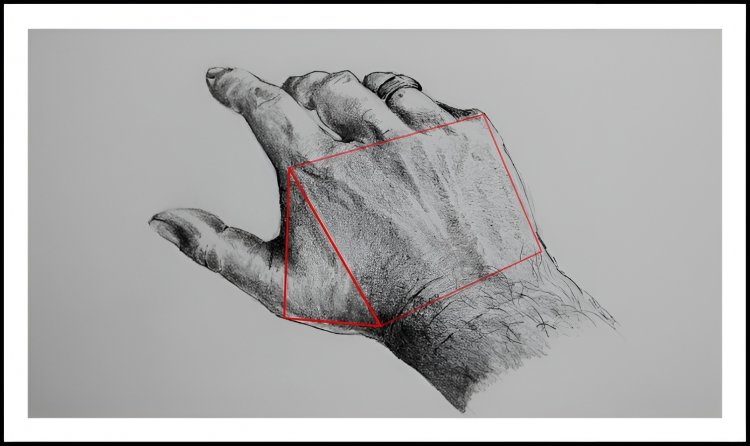
Step 2: And the other shape I see in the picture is a triangle. This is actually the right part of the palm, and it also connects to your thumb. In simple words, it is the middle part of our palm and thumb. This shape can seen different from different angles, but it is always there; you just need to look for it.
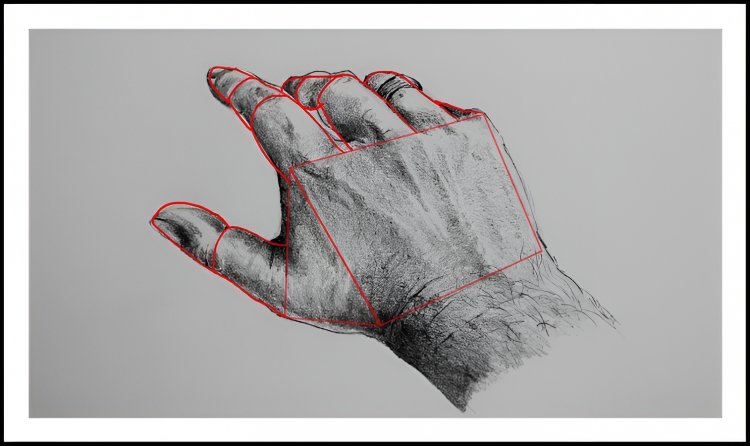
Step 3: In this figure, I see the cylinder. Each finger is always divided into three small cylinders; our thumb has two cylinders. The number of fingers, height and width of all hand reference pictures may be different. You can draw this cylinder according to your reference picture, but according to our reference picture, we see three cylinders in the index finger, three cylinders in the middle finger, one cylinder in the ring finger, and one cylinder in the little finger. and two cylinders in the thumb.
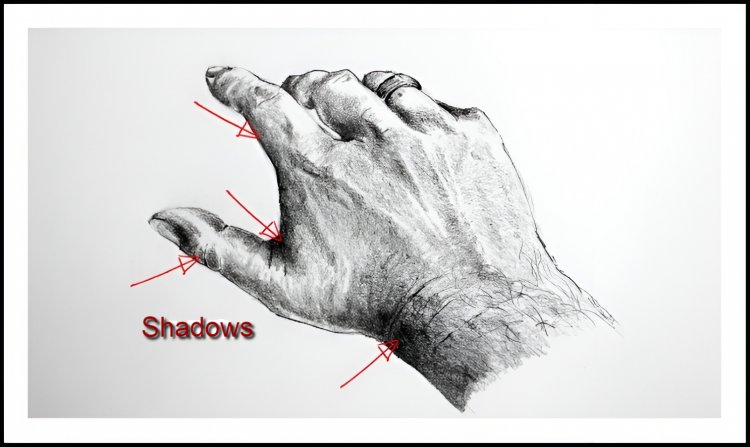
Absorb how to apply shadows by hand.
Shades are the process that makes our drawings more realistic. In other words, we can say that it is the original source, which makes our drawing more realistic and beautiful. All shades depend on light sources or light direction. In this image, the light sources fall on the right side
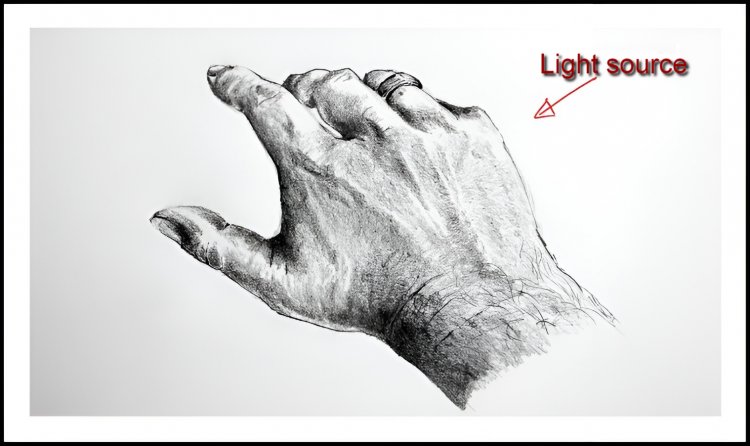
and go to the left side of the hand. The shadow on the hand is lighter where the light is falling directly on the hand, and opposite the light source, the shadow on the hand is darker.
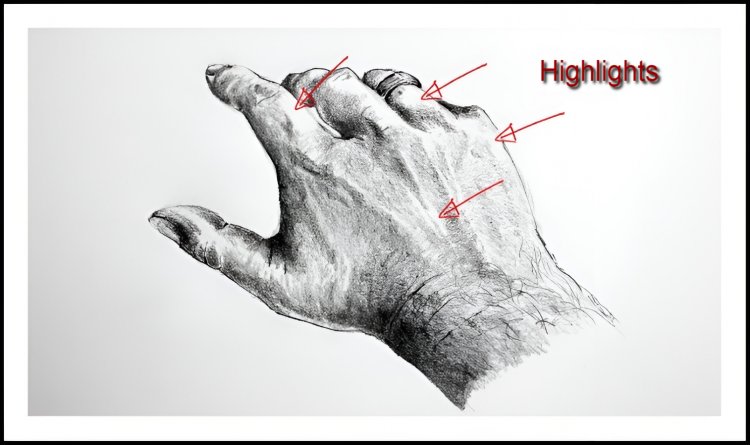
According to this image, the light is falling directly to the right, so the shadow on the right will be light and the shadow on the left will be dark.
Now that you've learned this lecture, you can practise this hand pose to make it more memorable. And if you want to store this in your long-term memory, you can learn how to draw the finger points. I explain it in more depth, so it is important for you to understand it.
Draw Hands Using Simple shapes.
A wonderful way to improve your drawing abilities in general is to practise sketching hands. They are constantly with us, so we can consult them and use them as references whenever we choose.Let's revisit the procedure that we previously looked at. This time, we'll use a highlighter to make each form more visible. Step by step, paying great attention to each contour. Note how you can depict a hand in every position using each form.Create a shape to represent the back of the hand to start. This form will most likely be rectangular, although it may also have a tiny curvature, as seen below. (Keep in mind to draw fairly.) loose in the early going. (The form may always be improved as we go.)
Then, on the side of this form, draw a triangle. The thumb and the back of the hand will be connected by a form like this. We're going to ultimately add a thumb to the lower part.
Then, from the rectangle that was made for the back of the hand, a few smaller cylinders can be sketched extending outward. The bottom regions of each finger will take on these shapes.
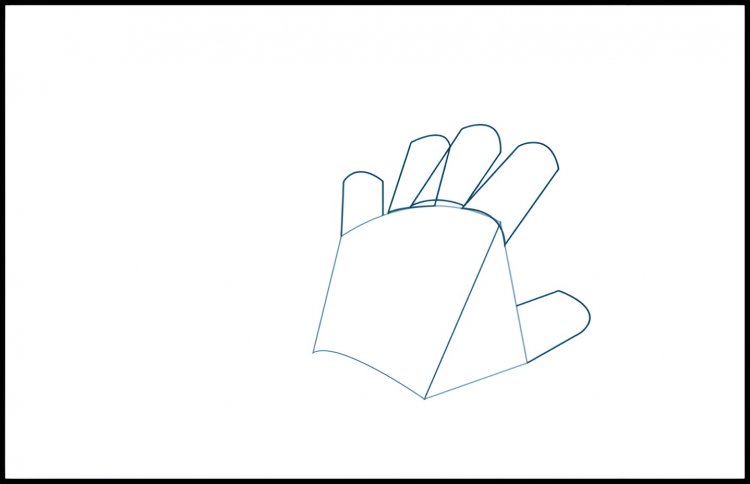
The fingers are extended out further by drawing a second pair of cylinders.
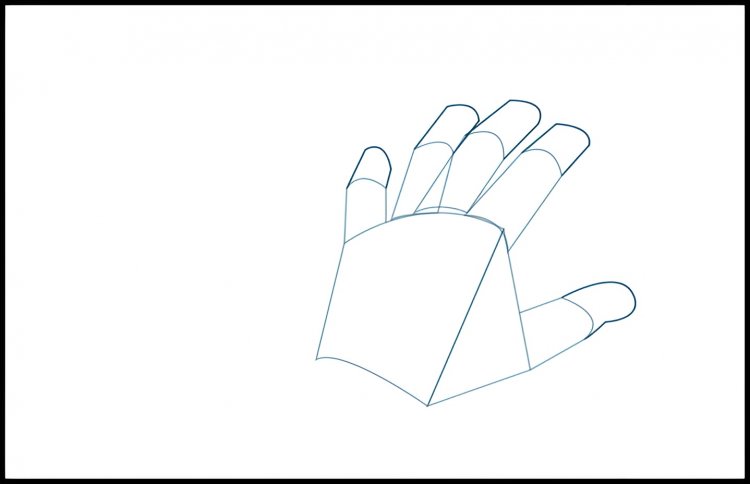
Another pair of cylinders can be used to complete the fingers. Keep an eye out for how each cylinder transforms into a finger section.
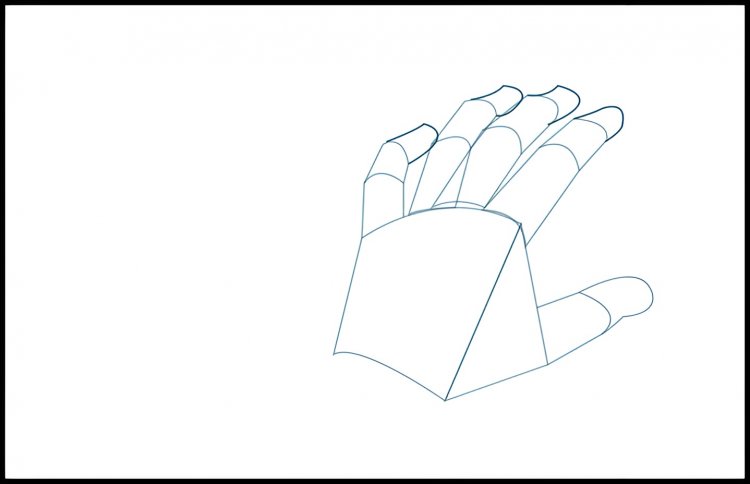
To complete the hand sketch, add outlines and shadows. When incorporating shade, keep the light source in mind. Each finger and each area of the hand should have the same consistency.
I hope you enjoyed my instruction, learned something new, and found this post informative. If you want to learn more about drawing, I've included some links below so you may do so.
What's Your Reaction?