Learn How To Draw Leaf With Water Drops Step By Step
Sketchytips.com provides step-by-step instructions on how to draw a leaf with water drops. If it's your first attempt, then don't worry; here is proper guidance for you.
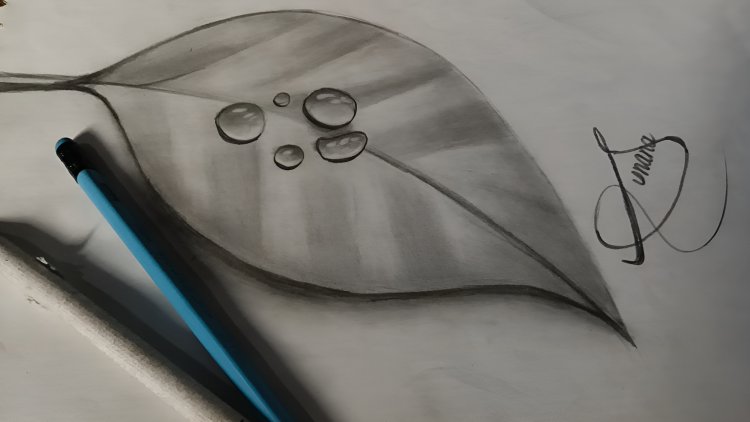
Today I am bringing you an interesting topic: how to draw a leaf with water drops using very simple steps. Rain is the blessing of Allah, and rain is loved by everyone. But when the rain stops, everything and every leaf of the trees looks so lovely and beautiful. Many drops that fall from clouds and land on a tree leaf look like pearls on the leaf. Nature lovers as well as sketching and drawing enthusiasts will enjoy this lesson. Because nature is the only thing that recharges our minds. Some artists ignore this type of sketching because it requires intensive work. But don't ignore it, as it will improve your observation skills. As an artist, it's not a fearful thing; you overlook something. Some drawing fields and some types of drawing improve your skills. So don't forget this type of drawing. Start this lesson now and learn something new.
MATERIAL:
- Paper
- Eraser
- Tombows mono-zero erasers
- Pencil.
- B pencil
- 6B pencil
Tips:
- Always draw the basic outline with a light pencil.
- Always blend with a gentle hand.
- Always blend the outline thoroughly.
- Control your stress. When you are going from light to dark or from dark to light, you can practice it well.
Overview
I've put together some review steps that help you analyse all the steps. Then I may teach you this lesson.
- Sketch the petiole and midrib.
- Draw the entire structure of the leaf.
- Shade the underside of the stem and the leaf blade darker.
- Blend it from below.
- Draw a leaf vein.
- Shade some areas on the top of the leaf.
- Blend it well.
- Draw circles for water drops.
- Shade the water drops upwards.
Blend it. - shade the shadows of drops
- Give light to the drops.
- Our leaf is completed with water drops.
Step#1
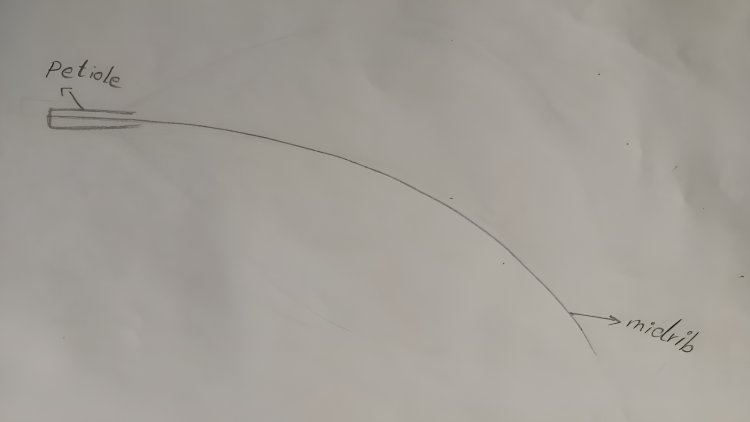
In our first step, draw the middle petiole and midrib of the leaf.
Using a pencil: Draw it with a 2HB pencil and with light pressure.
Step#2
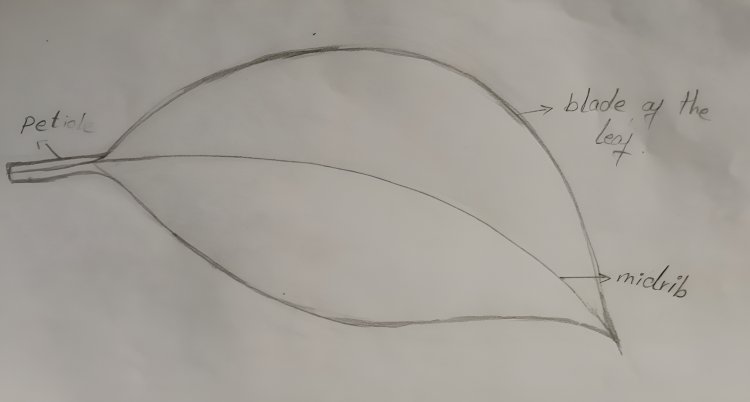
In our second step, draw the proper blade of the leaf.
Pencil usage: Draw it with a 2HB pencil.
Step#3
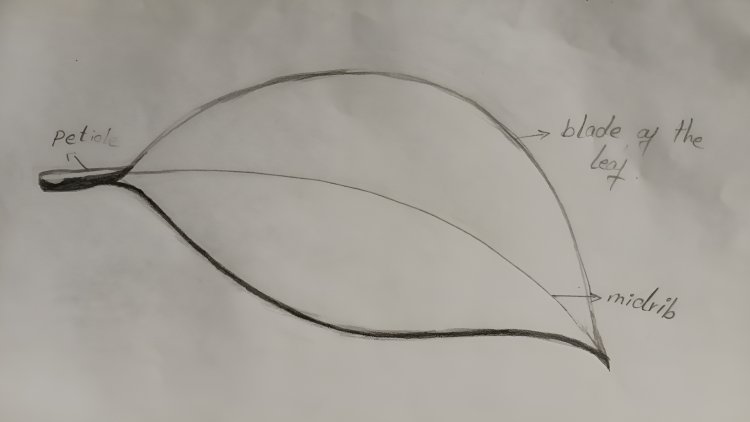
In our third step, shade slightly around the leaf and also shade the underside of the petiole. If you don't understand what I'm saying, you can see this picture.
Pencil Usage: Shade it with a 9B pencil. Catch your pencil far back from the tip or nib. It helps you shade easily.
Step#4
In our fourth step, we blade it with a gentle hand.
Blending tool: You can take a blending tool like a cotton bud, makeup brush, or paper stamp.
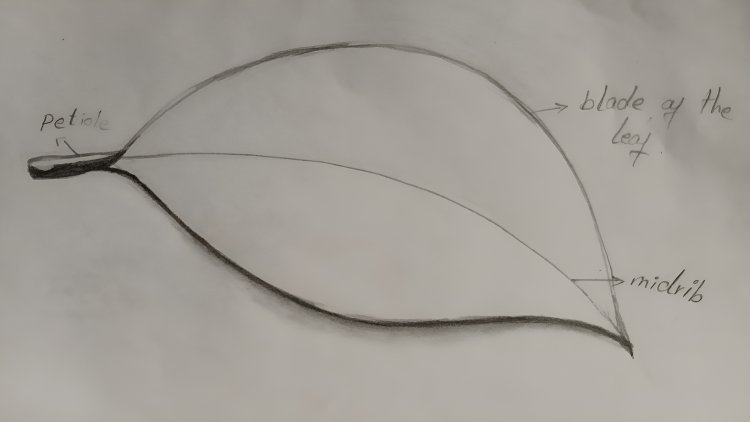
Step#5
In our fifth step, draw the leaf veins. Draw it, like I do in this picture.
Using a pencil: In this step and when drawing the veins, you should use a 2HB pencil. Because we want to draw it with a light pencil.
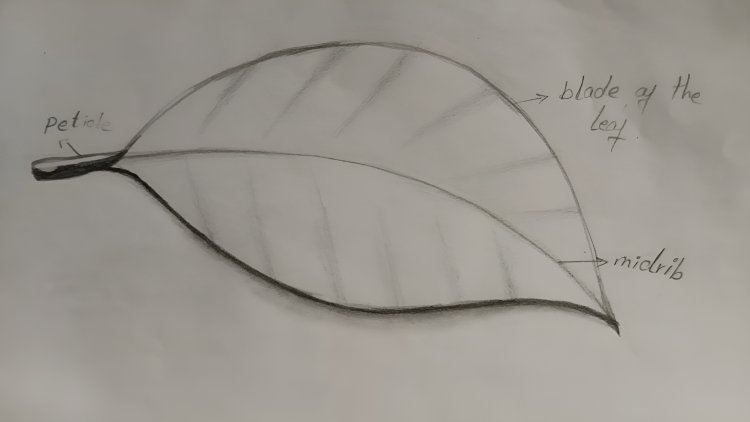
Step#6
In our sixth step, shade parts of the leaf. Shade the space between the two veins. Each region merges from the bottom up. A shadow next from the top, and the next one is shaded from below. Repeat this process.
Using a pencil, shade this area with a 2HB pencil.
2: Catch the pencil slightly away from the tip of the pencil.
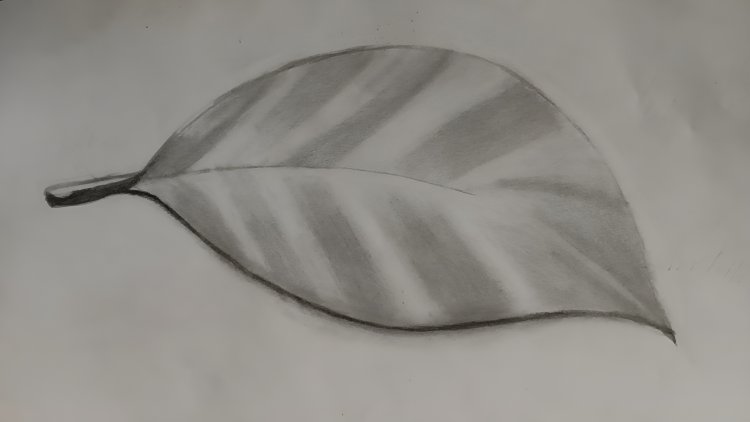
Step#7
In our seventh step, blend the areas that we shaded in our previous step.
Blending tools:
All the blending tools I explained in the fourth step But in this step, you can also use tissue paper.
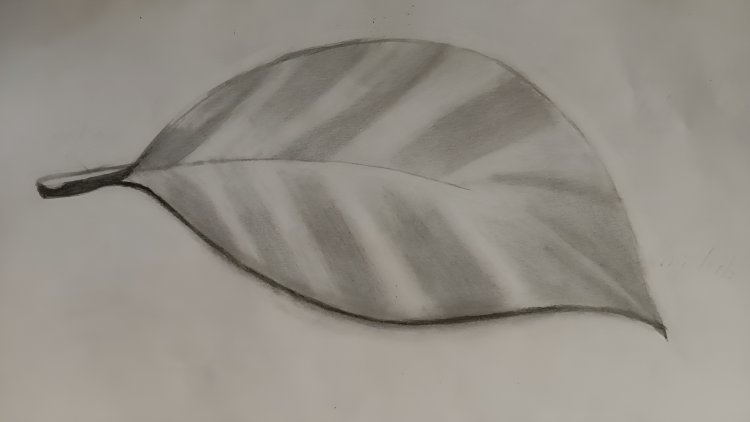
Step#8
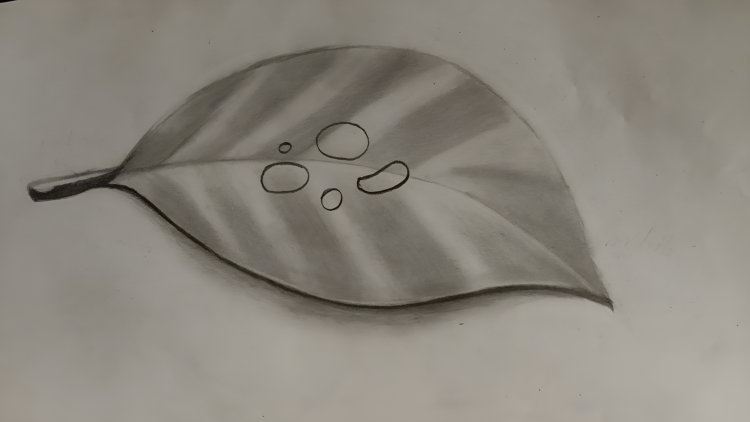
In our eighth step, draw circles, but not a complete circle because the water drops don't circle properly. Draw the drop shadow, as you can see in the image.
Using a pencil: In this step, use a 6B pencil.
Draw circles with firm pressure.
Step#9
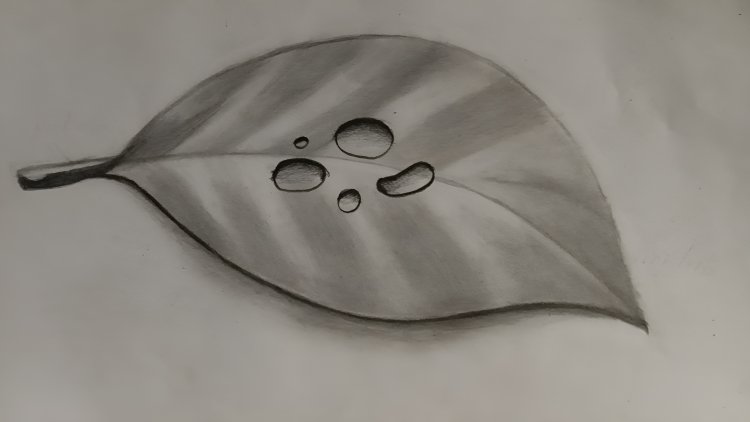
In our ninth step, shade the water droplets upward. Shade it, as you can see in the picture.
Pencil Usage: Shade it with a 9B pencil.
Apply more pressure at the starting point, and then slowly release that pressure.
Step#10
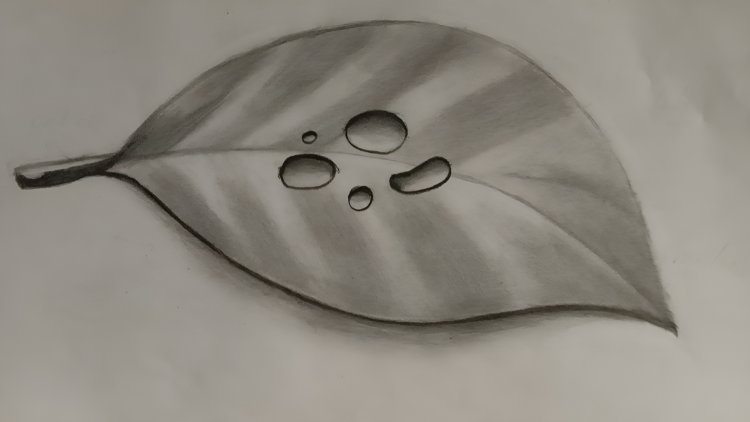
In our tenth step, blend the drop shadow with water.
Blending Tools: I already explained
Step#11
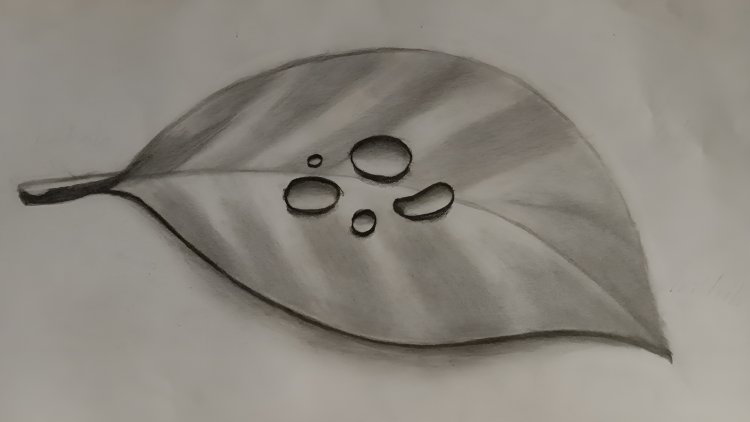
Draw and shade the eleventh water drop in our step. And blend it too.
Using a pencil: In this step, shade it with a 9B pencil with light pressure.
Step#12
In our twelfth step, highlight the areas of lightning on the water drops. The light makes the water drops look more realistic. This is also very important.
Using an eraser: For highlighting, you can use the Tombo MonoZero eraser. If you don't have a tombo eraser, you can use a white gel pen instead of a mono eraser.
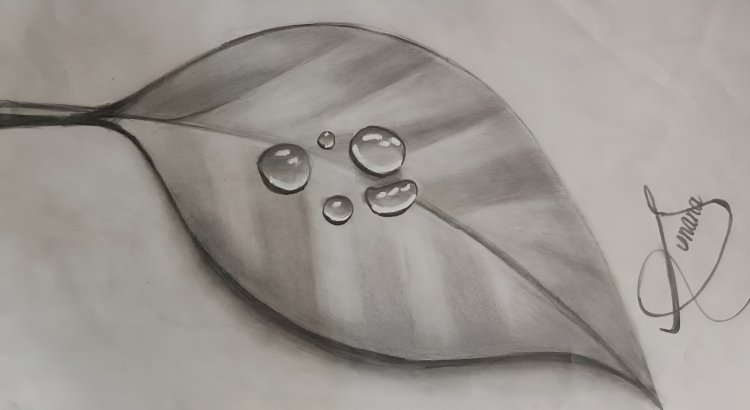
This is our last step. Now our drawing of a leaf with a drop of water is complete. I hope your sketch also looks beautiful.
What's Your Reaction?


