Learn How To Create A Realistic Nose From A Side View Using A Simple Circle.
Sketchytips.com provides how to sketch a human nose from a side view, step by step. If it's your first attempt, then don't worry; here is proper guidance for you.
Welcome! Today's tutorial is how to draw a realistic nose from a side view using simple circles. Before drawing anything we should learn how to draw it easily. In these tutorials, I will also show you how you can easily make anything. As for me, I use basic shapes to create anything. And today while drawing the nose I am also making shapes like circles and lines. Now you think how is this possible, but don't worry, just enjoy this lesson and learn something new in a new way, so without wasting your time, let's start our lesson.
Essential Materials.
- 2HB pencil or any black shadow pencil you have.
- For blending, use any paper stamp, tissue, paper, dry brush, or any blending tool you have.
Time to warm up your hands:
Before drawing anything, it is important for both beginners and professionals to warm up their hands. It improves your hand flow and increases your drawing speed. So it is important to warm up your hand before drawing. So pick up your pencil, sketching pen, sketchbook, or any random piece of paper and repeat these steps with me.
1:Draw small and large circles all over the page.
2:Draw two straight lines across the page.
3:Draw three vertical lines across the page.
I hope these exercises will help you in your drawing. And I hope you enjoy it.
Preview:
I have divided this tutorial into two parts, as follows:
Section 1: In this section, I will teach how to understand any nose angle from its reference image. I will also teach you how to make this angle using circles.
Section 2: In the second section, I give a complete guide on how to draw the nose from a side view.
In this section, we'll learn how to analyze shapes in our drawing objects. Now our objection is nasal. If we look closely at this section of the nose, its alar crease and sides look like circles. And other pictures show the basic shapes or angles of the nose. If you want to learn how to draw the nose from the front view in depth, I give you the link below. Go and learn it.
Section 3: In this section, we will learn how to draw a nose from a side view. I give it a very easy step to learn bitterly and easily. I divided it into five steps. Now let's start.
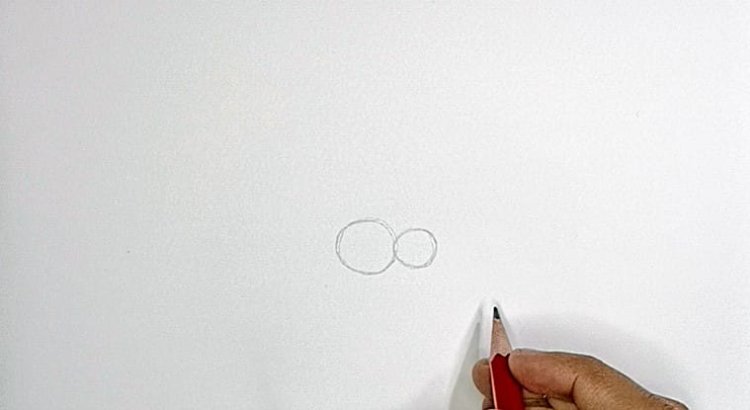
Step#1
Draw two circles. One big and one small
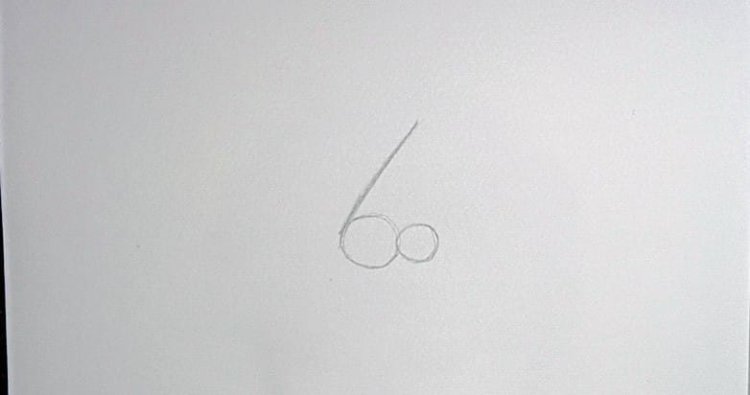
Step#2
Draw a carving line on the larger circle. As you can see in this example,
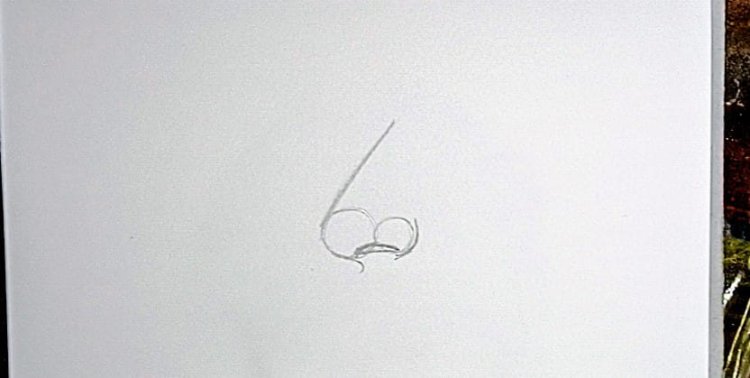
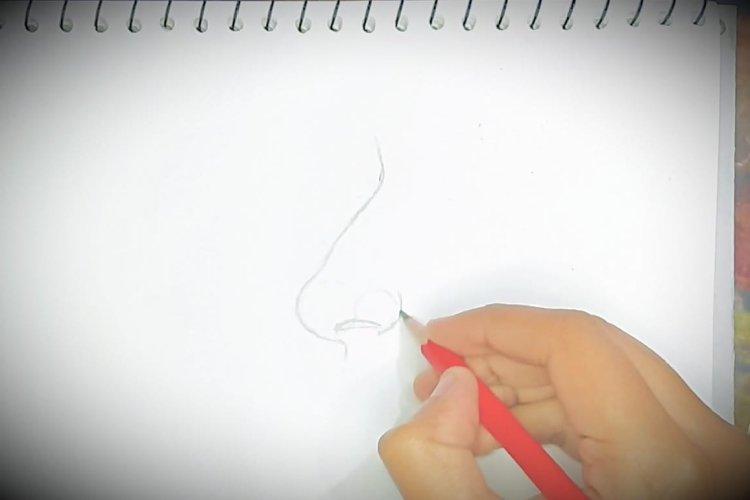
Step#3
Draw the alar rim and alar crease using the dashed lines. You draw like my drawing.
Step#4
Correct the side wall of the nose, which we draw with a straight-cut line in the second step. If you don't understand what I want to ask you, just look at the picture of my drawing and try to understand.
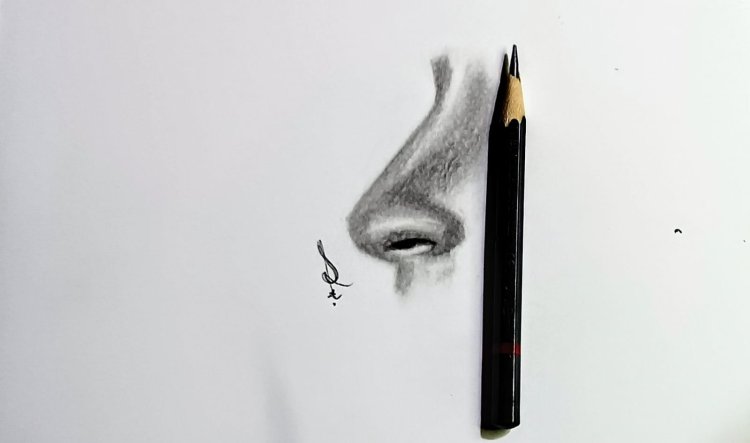
Step#5
Our noses are covered. The process of shading is very important to make our drawings more realistic. You will use a paper stamp or a dry brush to blend it. You need to shade the nose with low pressure because high pressure screws up our drawing. Then you blend it with a smooth hand, a paper stump, or a dry brush.
Recall that when it comes to drawing, practice makes perfect. If the results of your initial attempts are not flawless, don't give up. As you continue to hone your technique, you'll gain comfort with and proficiency in sketching noses from various perspectives.
What's Your Reaction?