How To Draw Hairs For Beginners
If it's your first attempt to draw human hair. then don't worry; you are on the right platform. Here, Sketchytips .com teaches you how to draw hair easily and quickly, from the initial state to the end of the proper shading. We guide you properly.
Although it might be challenging to draw human hair, with a little rehearsal and focus on the details, you can produce realistic and visually beautiful hair in your drawings. Here is a guide that demonstrates how to draw human hair step-by-step: Real hair can be added to a photograph to make it seem more real. It's quite understandable if you're terrified, but don't worry—we've got this! We'll assist you in breaking the procedure down into manageable steps and adding details one layer at a time to produce realistic hair in your design. For a thorough explanation of how to trace, draw, shade, highlight, and more, continue reading.
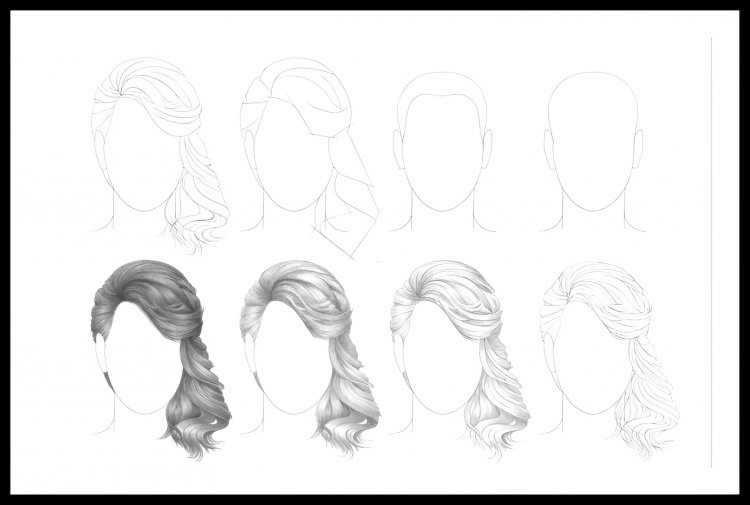
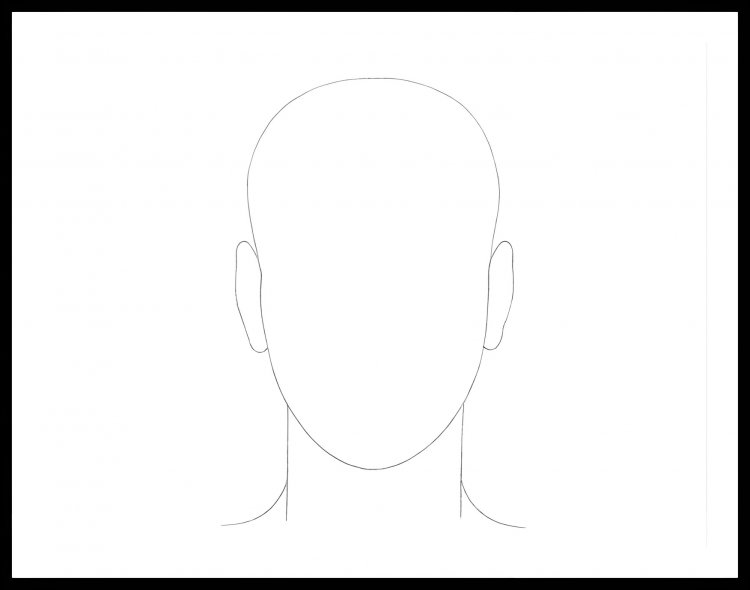
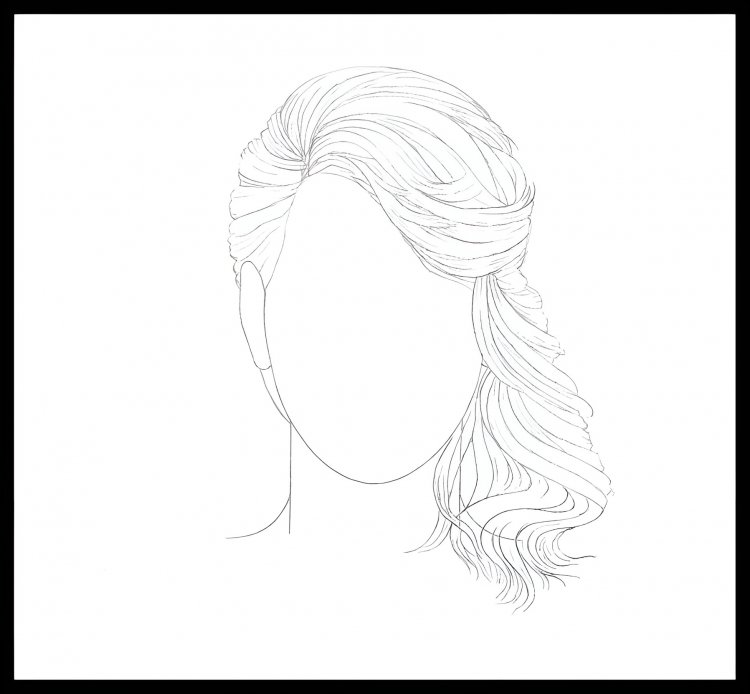
1Draw the head's contours: begin with the fundamental shape. Draw the general shape of the head first. This will serve as the hair's foundation. Use basic geometric forms, such as ovals or circles, to represent the head. It is challenging to adequately depict the hair without at least the head's contour. You must consider how the hair moves in relation to the head when drawing. Using a reference photo, sketch the subject's head, paying attention to the top and sides (even if they are hidden by hair). Without using a reference image, draw a thinner ellipse at the bottom to indicate the head. Make sure to allow room on the page for her hair's ends. Drawing the hair after that The chin's shape can be changed.

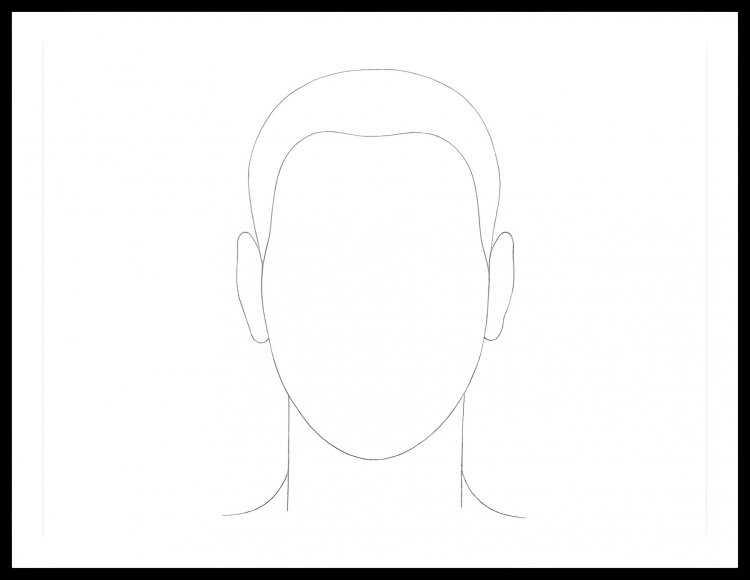
2Draw a line around the hair's perimeter: On the forehead, draw a curving line to depict the hairline. Check your references or imagine the hairline you want for your design since everyone's hairline might vary. Starting from the top of the head, draw the top and sides of the hair around. Give the hair some room to breathe because it has volume and isn't absolutely flat. The hair is then wrapped over the neck, shoulders, and face. The precise shape of the border will vary depending on the hairdo you are creating. For long, straight hair, mark a straight line on either side of your head. reaches its end completely. to create Use wavy lines to create waved hair on the sides. The waves will be looser the larger the wavy lines. If the hair is curly, simply draw the outlines of the top, sides, and ends. Don't worry about painting each loop separately just yet.

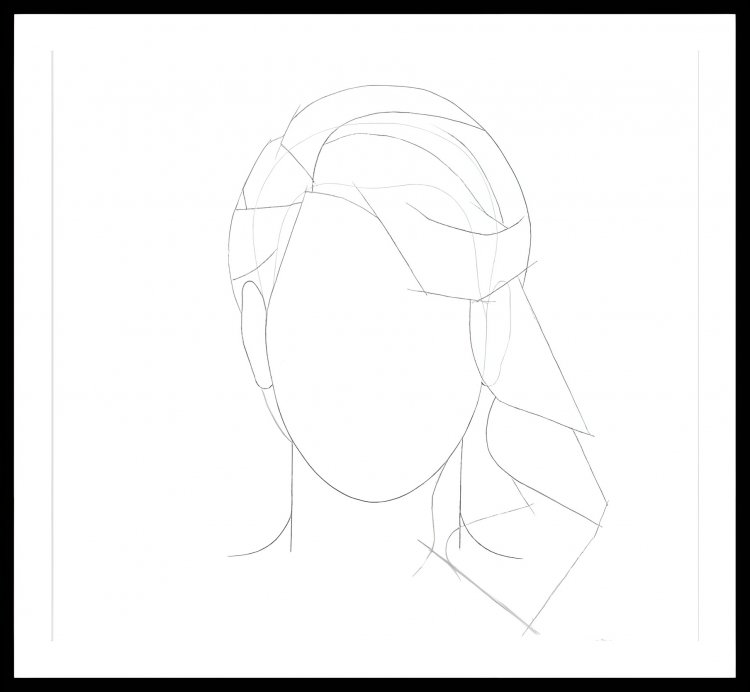
3Divide your hair into areas that are easy to identify: Think about the many parts or portions of the hair. You could, for instance, have two parts, both parts, or none at all. Using these divisions, you can represent the hair in a more logical and ordered manner. To specify these components, draw an outline of them. Look for visible hairs that are intertwined or clumped together. Different hair layers are evident; front layers might conceal rear layers. Hair that is textured or layered will have more noticeable portions. In hair that is straight and flat, there will be less. Curly hair makes for quite distinct partial drawings when drawn. Describe every hair coil throughout.
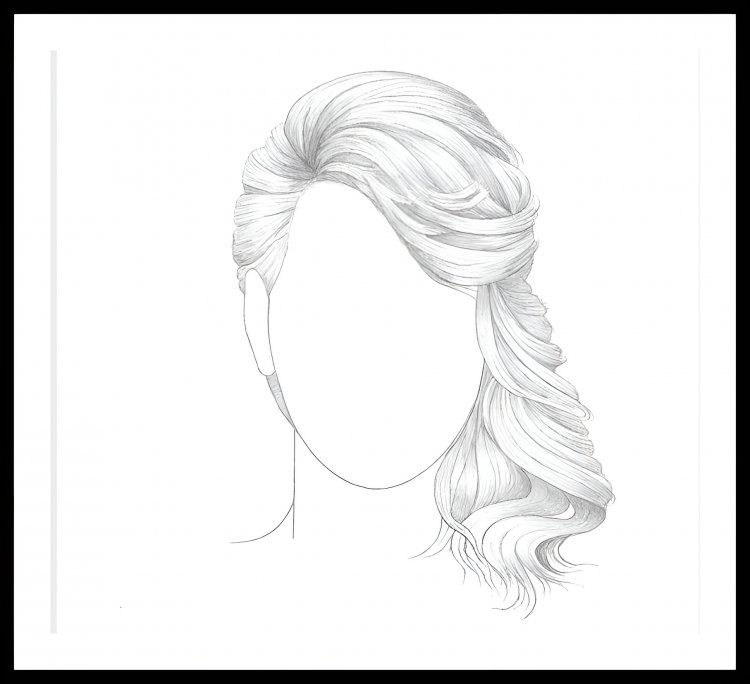
 4Draw a line through the hairs: Notice where the light hits the hair on the model or in the reference image, if you're using one. Otherwise, you'll have to choose where the light is coming from in your drawing.The highlights will fall to the left of the hair, and the right will have more shadows, such as if it were to the left of your shape. Draw the contours of the visible highlights of the hair. Setting it now will make it easier to give your hair a realistic tone and value later. For example, light can shine from above and bounce off the top of your character's head. Show Basics Draw the outline of the shape that the reflected light creates on the hair in your drawing. Perfect form is not required. This will only serve as a future reference. Depending on the position and intensity of light in your drawing, the exact size and shape of the highlights will change. The size of the bright spots will increase with the light intensity. The filaments usually flow in the same direction as the hair and emerge in thick and pronounced areas.
Advice: If you're using a reference image, you can posterize it or increase contrast by uploading it to a free image-editing programme. Highlights and shadows in the hair will be easier to see.
5Around the highlights in the hair, there is a shade: First, all hair should be lightly shaded. Use the edge of the pencil to blend and even out the colour. Do not draw hair into individual strands. Then, shade at the roots or dark spots where the sections overlap again. Addin nt quality, use them. Use 8B, 6B, and 4B for the darkest, mid-range, and darkest shadows, respectively. A variety of pencils will allow you to create more effective contrast.g shine to the hair will give it a more realistic look and add dimension. If you have pencils of differe

6To enhance texture: draw separate strands all over the hair. Draw individual hair strands in the direction that the hair flows, one portion of the hair at a time. Draw the hair strands to the ends from the roots outward. As you go over the highlights, raise your pencil and press down harder on the darker areas of the hair.
If the hair starts to turn too dark, add more highlights with a kneaded rubber. To create thin, white hair strands, flatten the rubber and swipe the tip across the page.
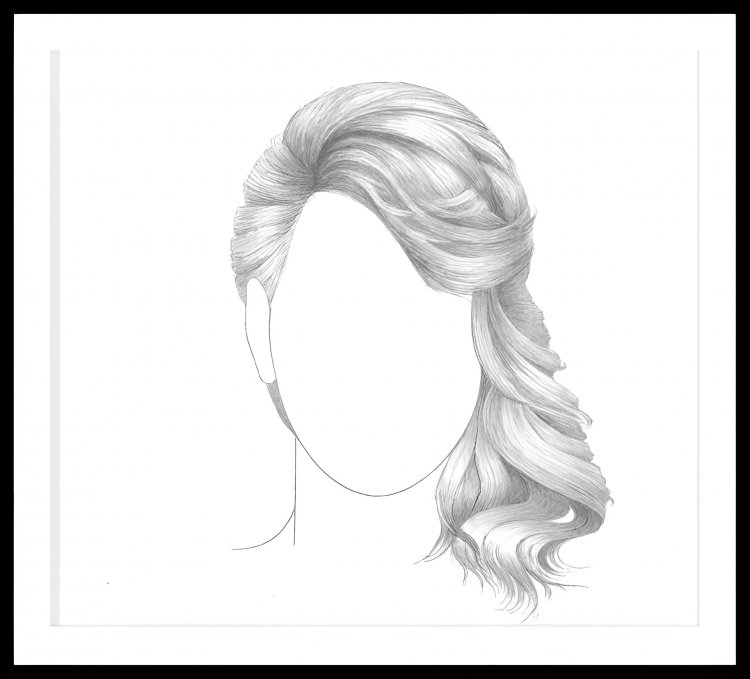

7 Add multiple layers of separate yarn. Pay special attention to small hair features such as frizz or split ends. Use moderation when adding these details to prevent the drawing from looking cluttered. For smaller features, use thin, slender lines. Return to the hair and apply a second, a third, and so on after adding a highlight layer. Continue building layers until you get to the level of realism you want.
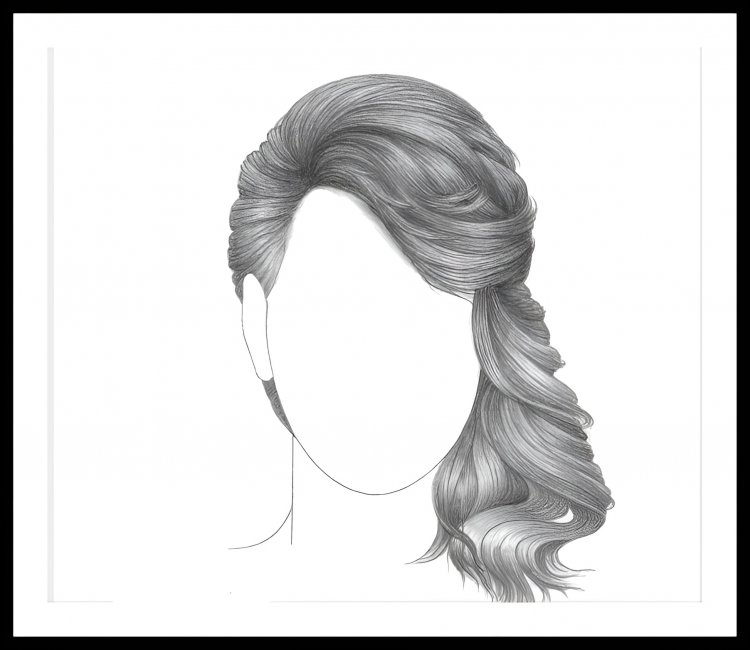

Always keep in mind that practise makes perfect when drawing hair. Learn about different hair types, try different ways, and don't be afraid to make mistakes. In the end, you'll find your own hair-drawing strategy and style.
What's Your Reaction?