How To Draw Sketch Of Lips With Pencils Step By Step For Beginners
Sketchytips.com provides how to sketch a human's lips step by step. If it's your first attempt, then don't worry; here is proper guidance for you.
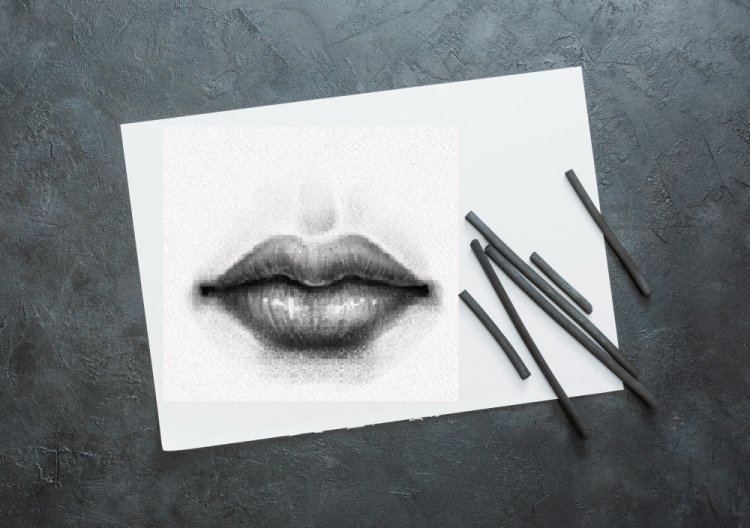
I am going to show you how to draw lips in this article. I will also show you how to draw realistic lips in this article. The most delicate part of our face is our lips. There are many fine and thick lines on the lips. You've undoubtedly always envied the great artists who can draw realistic lips, and you've thought, "I wish I could do that too." So don't worry! In this tutorial, I will show you how to create realistic lips like these artists. If you practice and follow my instructions, I'm sure you can draw a realistic lip with your own hands. I personally put a lot of effort into it under your good guidance. However, as a beginner, it is important that you understand how to draw anything with ease using simple forms. And master drawing anything. Discovering basic shapes is the first step to drawing anything. I've made some moves in these steps, and you'll no doubt benefit from them, but they'll also serve as a guide for you. If you want to learn how to draw deeper lips, you must learn how to set goals. You should try to create your own methods to see the basic shapes of your image. I sincerely hope you understand what I am trying to say. You can pull off anything if you take my advice. Whether it's a face, body part, automobile, tree, or whatever, I'm hoping you'll follow my instructions and come up with your own method. Now I will tell you about the steps I have taken and try to explain how you can do the same. Let's start now!
Materials needed to make lips:
- 5B and 7B pencils for dark shade.
- B and 3B pencils for lighter shade.
- Mono zero eraser for highlights.
- Dry brush for blending.
Techniques for drawing lips that are simple and basic:
I will show you how to draw lips in these steps.
Basic Lip Path and Texture:
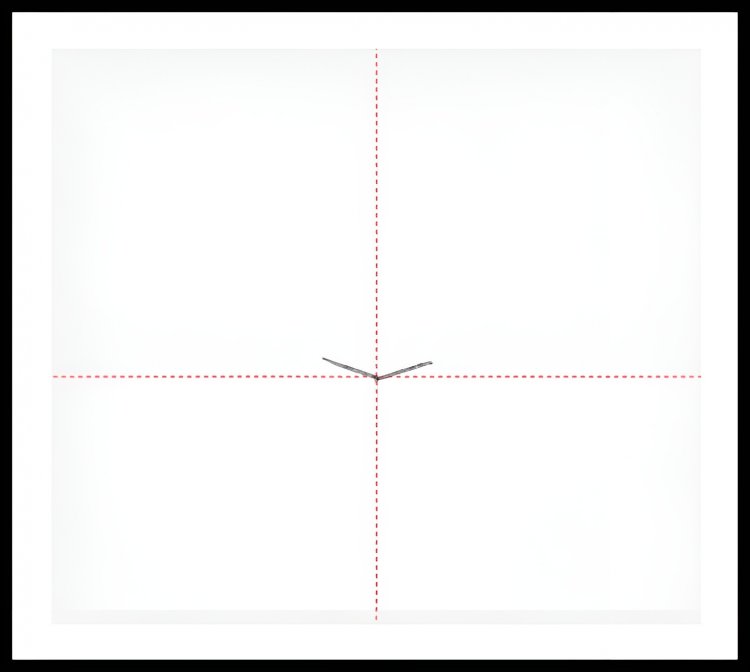
Step 1:
Resources For step one, randomly pick up a B or 3B pencil and a rectangular piece of paper. Using a plain sheet of paper, draw a horizontal line down the center if you don't have rectangular paper available. Then you can use a piece of paper and proceed as directed.


Draw two lines down the middle of the paper: one vertical and one horizontal. You can see in the image below how to achieve this.
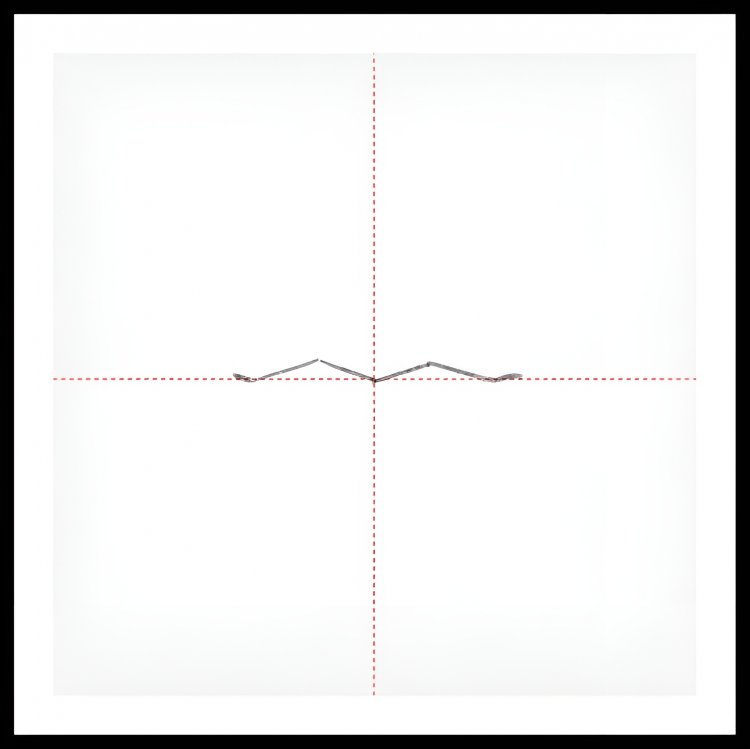
Step2:
In the second step, you can draw a V at the midpoint of the vertical and horizontal lines. The vee is the middle shape or area of the lips. You can draw it like I did in this picture.

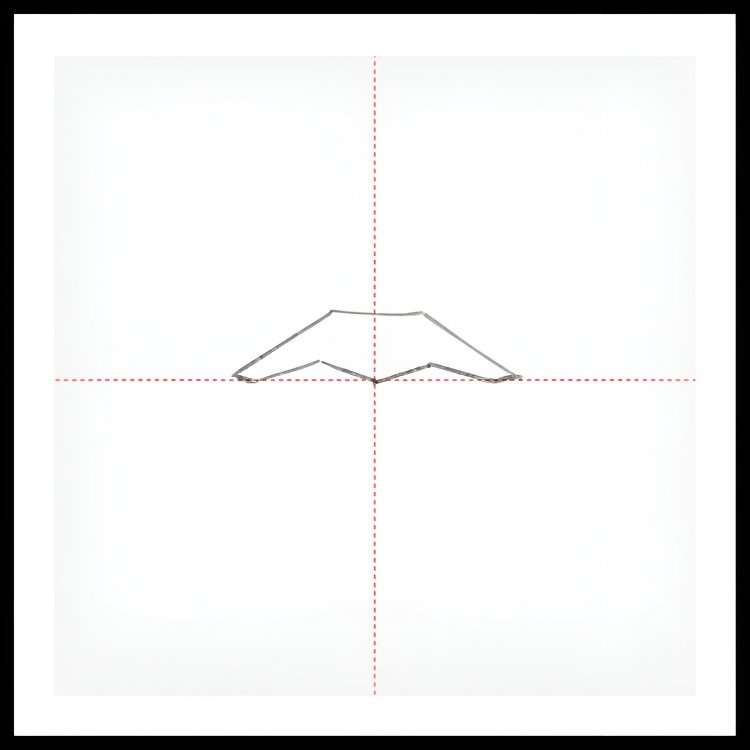
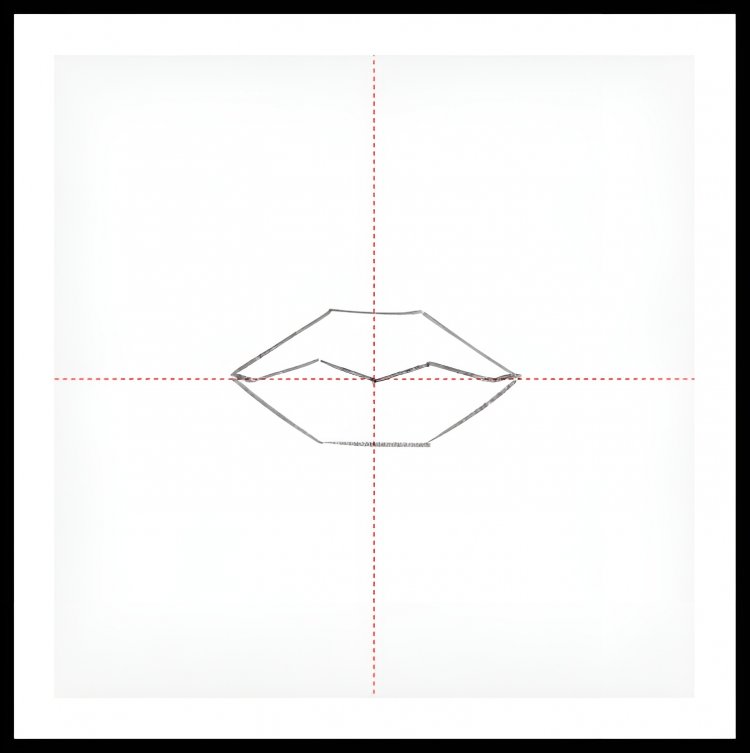
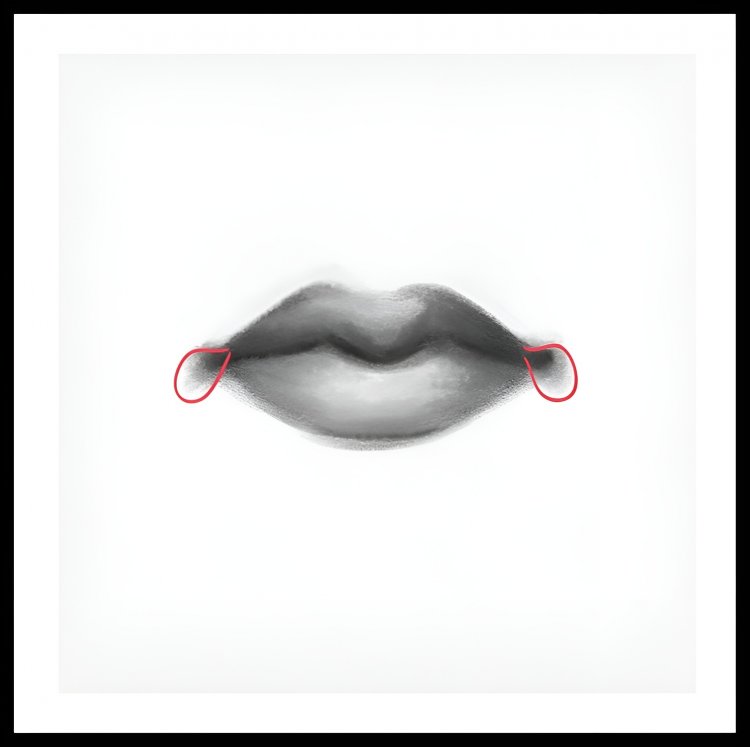
Step 3:
In this step, I add two carving lines on both sides of the V, for example, the right and left sides of the V. And this is the area between the upper and lower lips.

Step 4:
In this step, I draw the upper lips. I draw the middle area of the upper lip with the vee shape and middle line that we already drew in our first step.

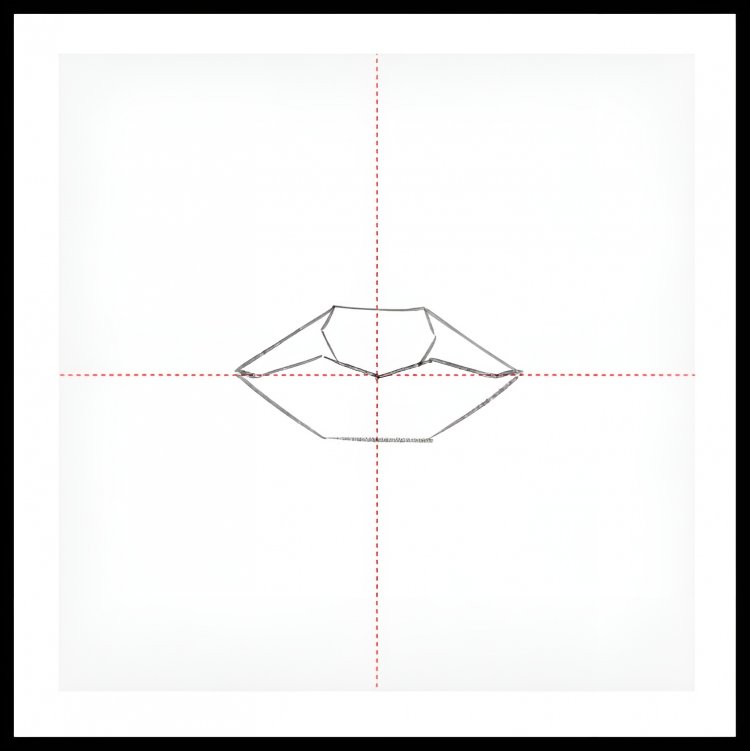
Step 5:
In this step, I draw the lower lip. I draw the lower lip by simply drawing a carved line. And join its sides in the middle carve lines. Then we can see that our sketch of lips keeps a good shape, like perfect lips.

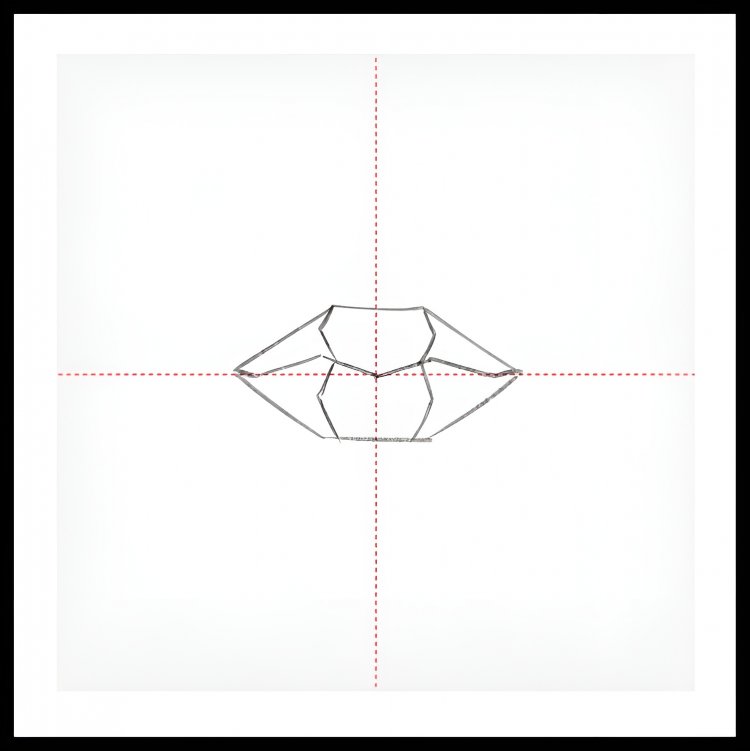
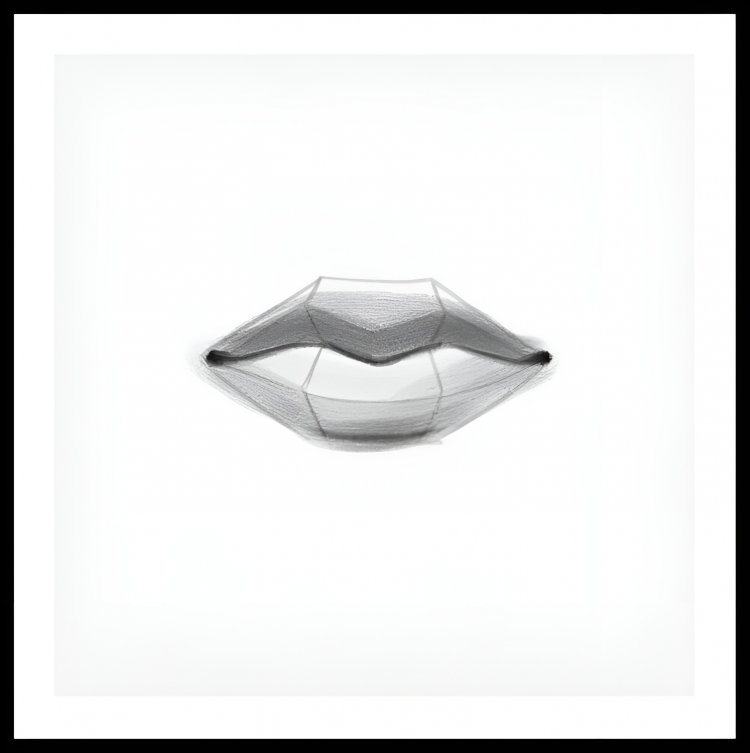
Step 6
In these steps, I draw a value line on the upper lip; these lines give me the correct direction of the shading. It works with the guidelines of the shading.
Step 7
In these steps, repeat the same process. But this time draw these lines in the lower lip.

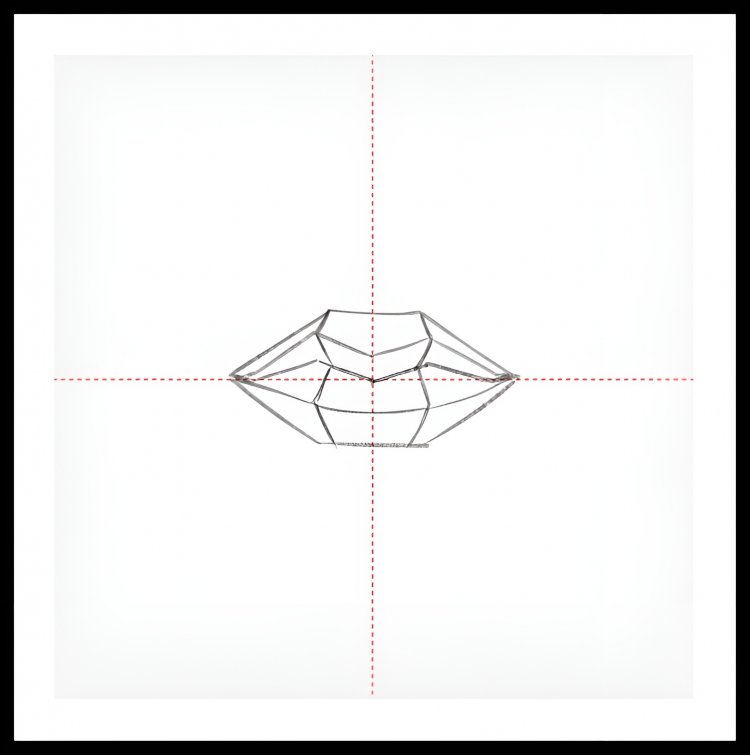
Step 8
In our eighth step, draw a shading guideline because, without a shading guideline, we wouldn't be able to fully shade it..

Now we start shading our lips.
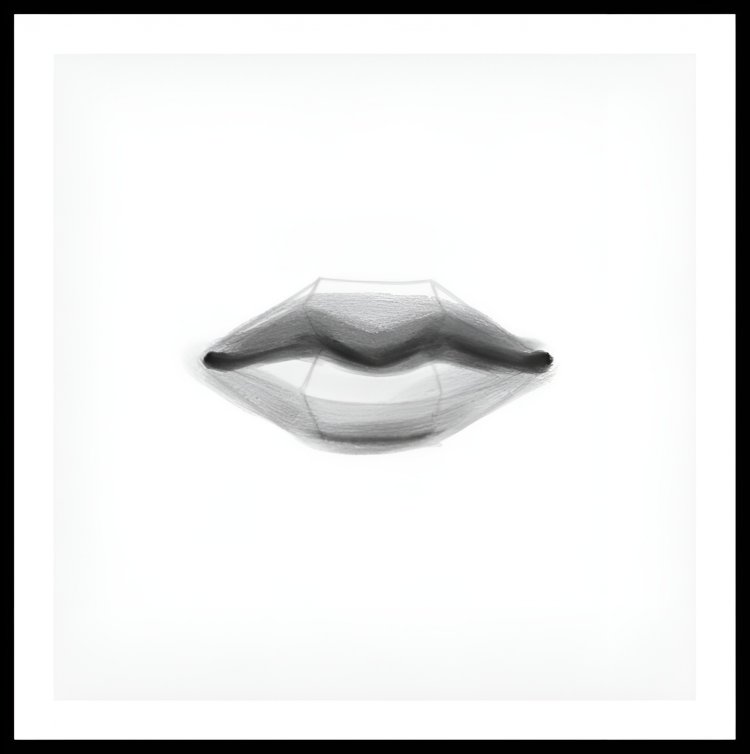
Step 1
Material: First, I shade the lips using a lighter shade of the pencil, like B or 3B.
Shade: In our first step of shading, we can shade the lips using guide lines. As you can see in the image,

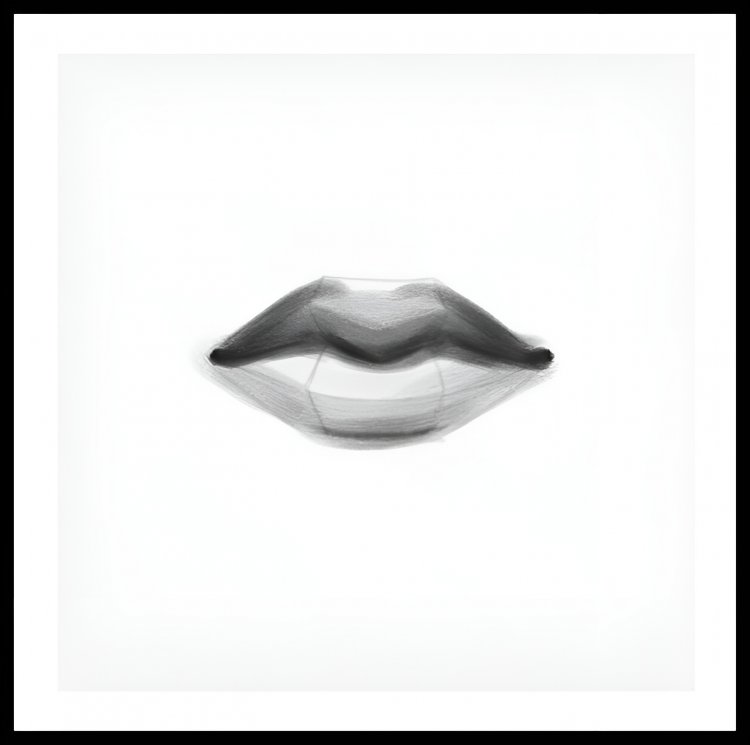
Step 2
In this step, I use some lighter and higher-shaded pencils like 3B, B, 7B, and 5B. In the dark areas, you can use a dark pencil, and in the light areas, you can use a light pencil.

Tip: If you can blend anything, you should hold the pencil straight in your hand and give minimum and minimum pressure on the tip of the pencil.
Step 3
In this step, use a dry brush and blend the areas you can see in the image.

Step 4
In this step, I can blend with a dry brush. You can also use tissue paper instead of a dry brush to blend and dissolve the pencil shades in the paper.
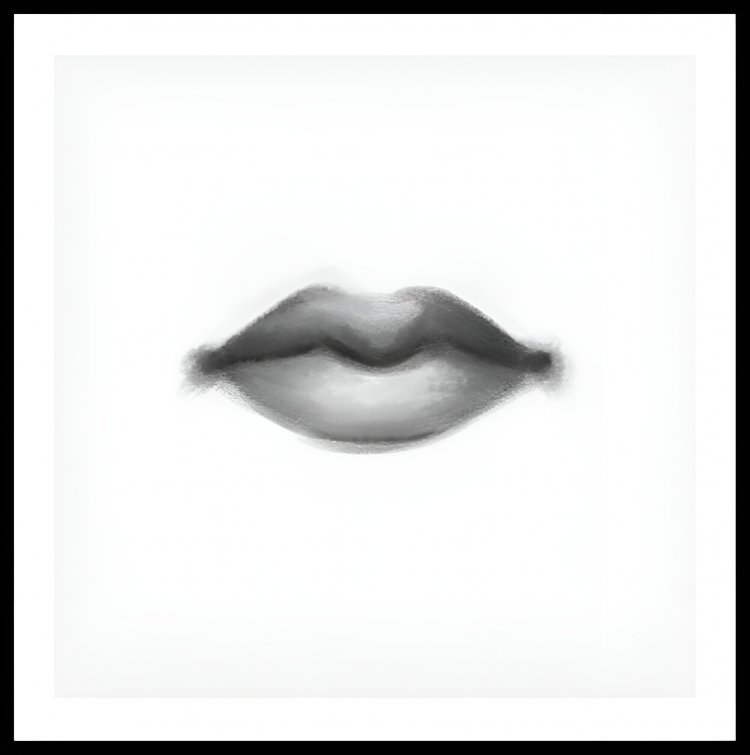

Tip: You should always blend with a light hand. This process makes your work more realistic.
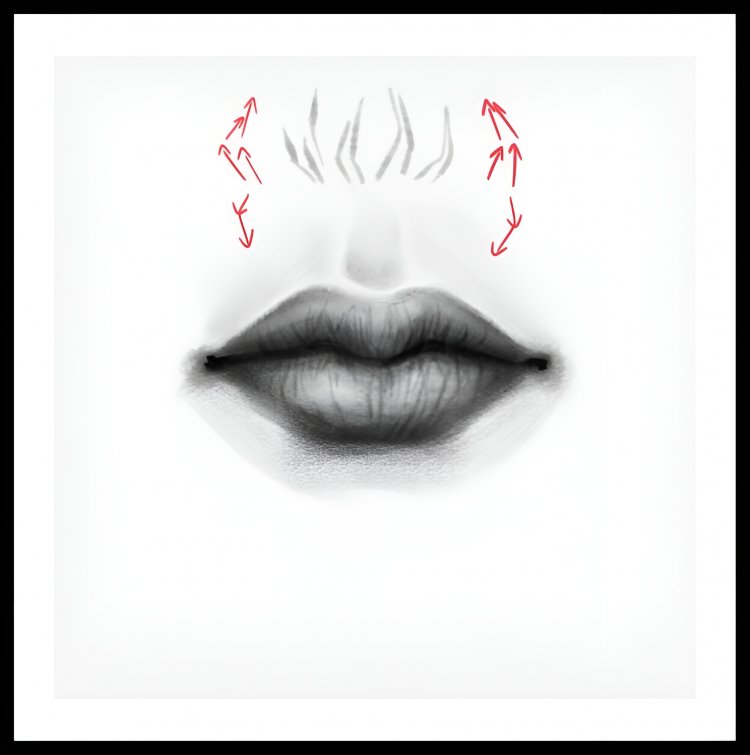
Step 5
In our fifth step, the mid-ribs are very carefully blended because they connect to the face and are the expressive part of our face. So you mix it carefully to give a proper impression.

Step 6
In our sixth step, I draw some lines on the image, which gives me the direction of the stoke lines that I will draw in it in the next step.
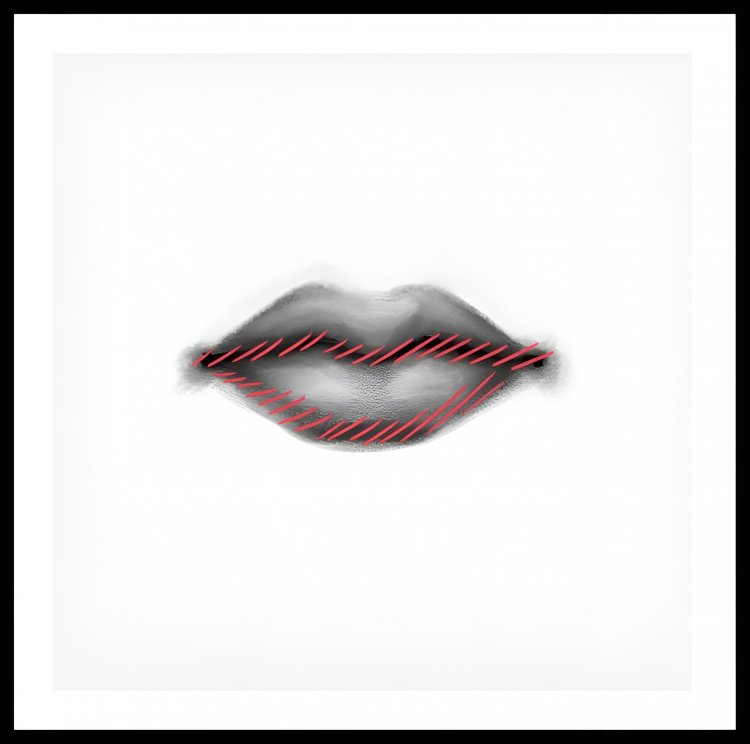

Step 7
In this step, I draw stoke lines on the lips to make them look realistic. I drew the stoke lines on the lip image above to guide you on how to draw the stoke lines in the lips that are shown in this image.

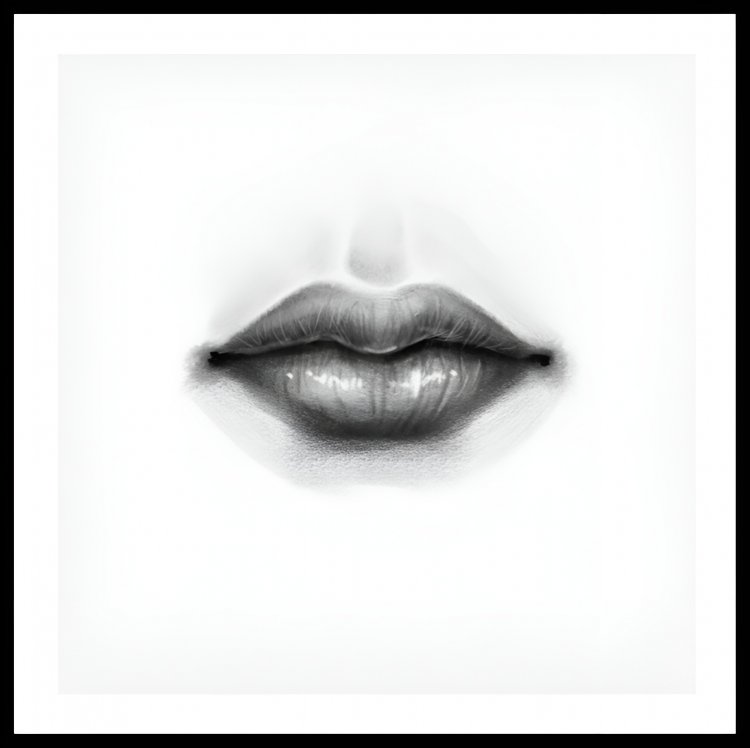
Step 8
In this step, I create shine lines or light lines on the lips, which makes it more realistic. I can draw these lines using mono zero eraser.

What's Your Reaction?