How To Draw The nose From The Front Side
Sketchytips.com provides how to sketch a human nose step by step. If it's your first attempt, then don't worry; here is proper guidance for you.
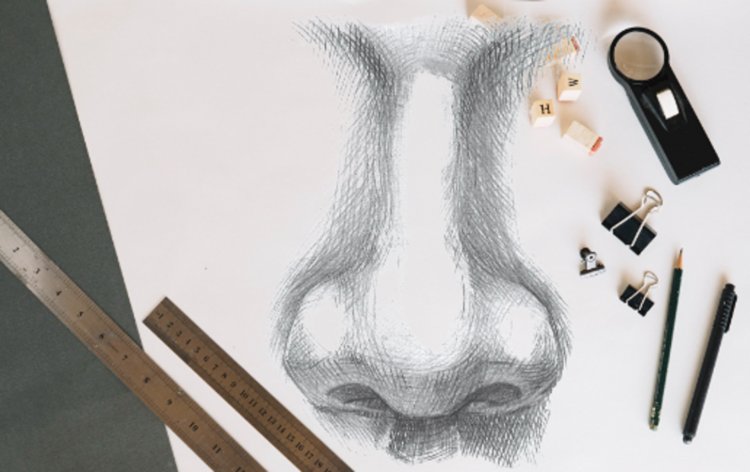
In this article, I am going to show you how to draw a nose using simple techniques. As a beginner, it is difficult for us to draw a perfect nose without knowing the basic technique. Every day we look at our faces in the mirror, but if you look closely at your nose, you will see that it is made up of different shapes and lines. But Allah Almighty has given a different shape to each person's nose, but don't worry, it applies to all types of noses. Due to the different directions of light, different shades fall on each nose, so each nose should be given according to its reference photo. The nose is an interesting part of our face, and drawing is also interesting. Now let me tell you some steps to draw the nose.
Material required for drawing the nose:
As a beginner, you don't need a professional tool. I suggest you take a random pencil, like a 2HB pencil, or a pen to draw the nose.
Draw with me step by step:
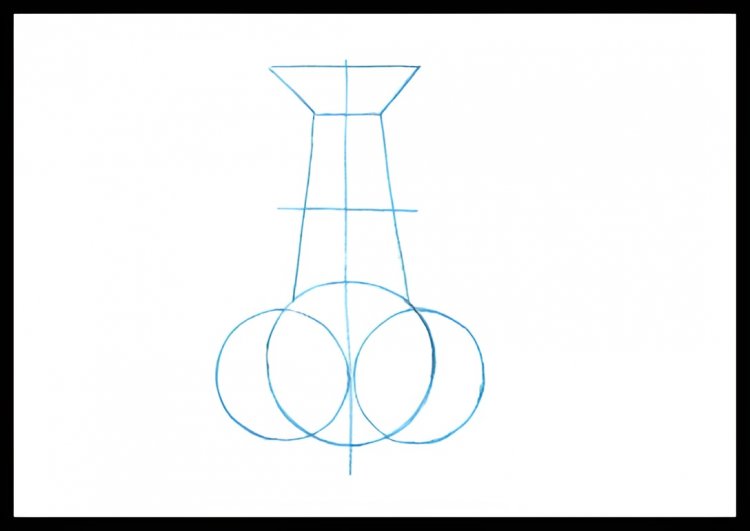
I don't know if you've noticed, but I've already told you that your nose is made up of different shapes that combine to form your nose. These shapes consist of circles, straight lines, and vertical lines that help us draw the nose. And now I'll teach you how to draw a nose with simple steps. Let's begin!
Step 1: In our first step, we draw a portrait nose using three circles, a straight line, and another shape, as in this image.
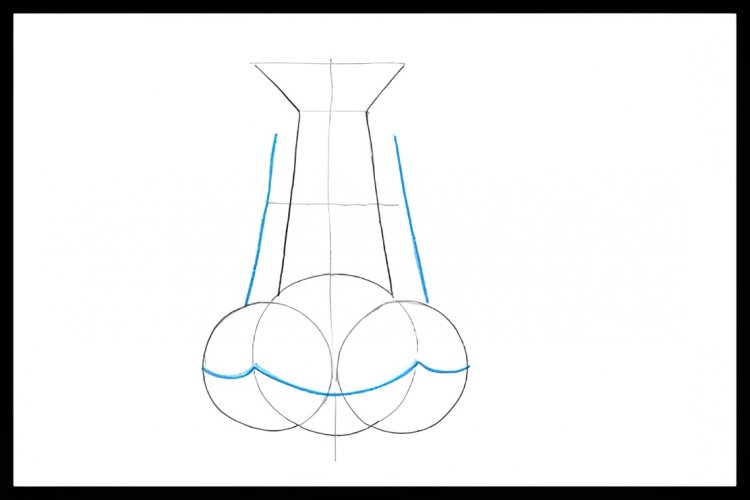
Step 2: These lines mainly serve as the boundary lines of the shades. Shadow boundary lines must be drawn. If we don't draw these lines, we might have trouble figuring out where to put the shade, so it doesn't look good because we don't know the right way.
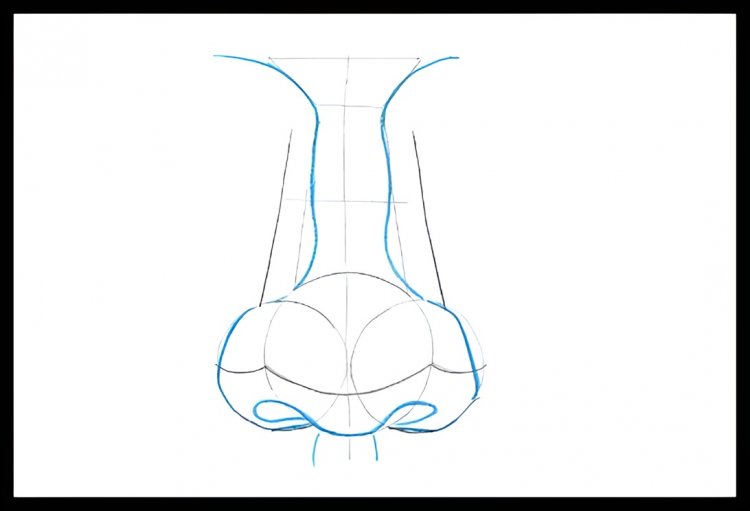
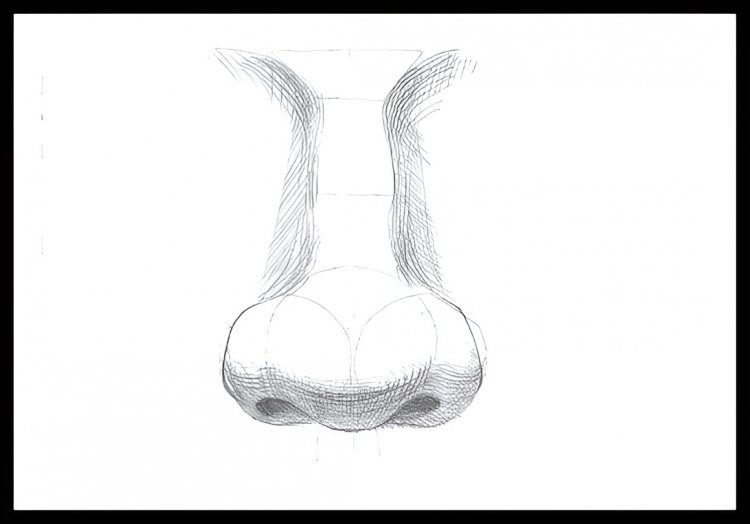
Step 3: In this step, we create the actual shape of the nose using these instructions. As you can see in the picture, we have connected all the upper lines, and now using these circles, we draw the Alar crease of the nose, and again, with the help of these circles, we draw the nostril. Now we can see that our nose sketch has started.
Step 4: In our fourth step, we draw the shades of the nose, which make your nose more realistic with the use of boundary lines. We shade the nostrils under the tip. One thing to remember is that we have to make the nostrils a darker shade. Moreover, before we can go further, we have to erase the constructed line.
Step 5: In our fifth and final step, you can add all the dark and light shades to your nose, as shown in this image. In this step, I want to give you a tip to improve your shading ability.
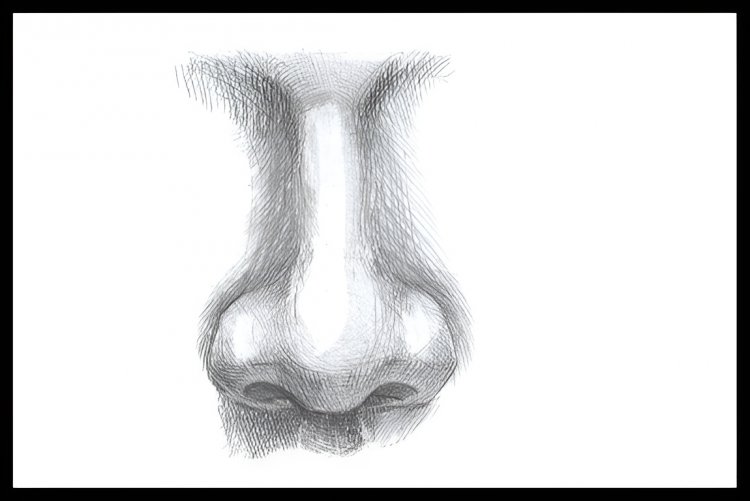
Tip: I want to tell you that you should practise shading from light to dark. As a beginner, you can do this with a simple pencil-like 2HB. If you understand the difference between light and dark colours and are able to maintain pressure on your pencil, you will be able to do professional shading on anything.
What's Your Reaction?