How To Draw Braid Hairstyle Step By Step
Sketchytips.com provides step-by-step instructions on how to draw a braided hairstyle. If it's your first attempt, then don't worry; here is proper guidance for you.
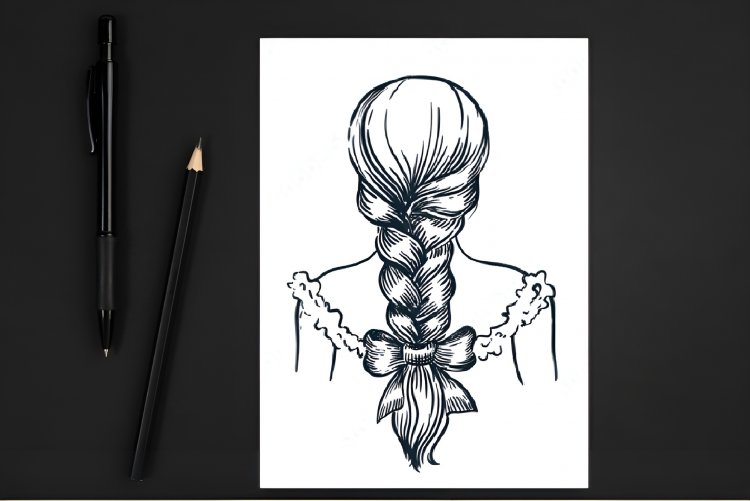
In this article, I'm going to teach you how to create realistic braided hairstyles. Braid hairstyles are almost as popular as braids among girls, and every girl must do this hairstyle in her lifetime. I love this hairstyle too. I do this when I feel irritating with my open hair, and then I hold my scattered hair with a neat braid. It gives me comfort in the summer season. Many girls use braids to create different hairstyles. I am amazed by this hairstyle because it looks beautiful. Now leave this discussion and come back to your topic: in the field of drawing, how can I draw this hairstyle in my sketchbook? Hair is one of the topics that needs our most attention compared to others. Because while drawing hair, we do the same thing or action over and over again. Let me tell you in this article in detail what process hair pulling repeats.
TIPS TO DARW REALISTIC HAIRS
- Draw the structure of the hair if you want to draw any type of hairstyle.
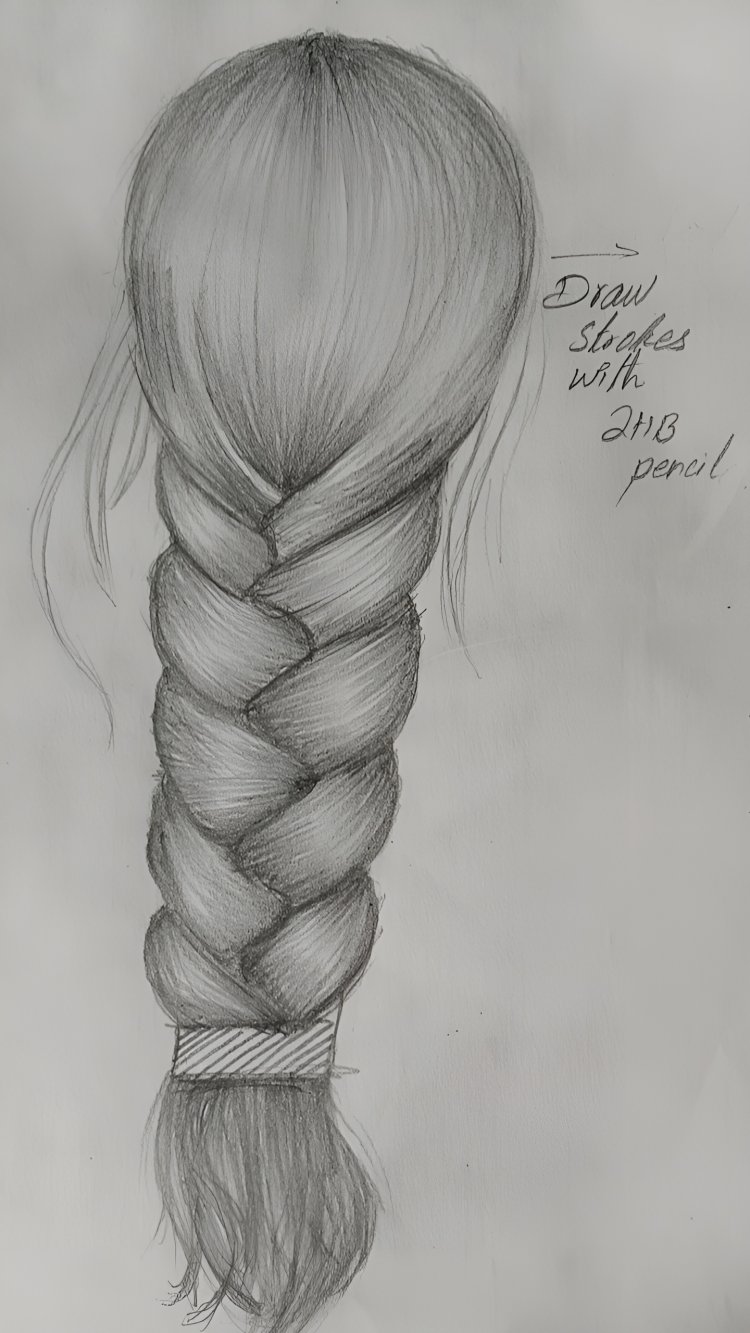
- Draw her hair with strokelines. You should use 2HB pencils. The length of the stroke is long or short, according to the hairstyle. Because some hairs required small strokelines and some hairs required long strokelines.
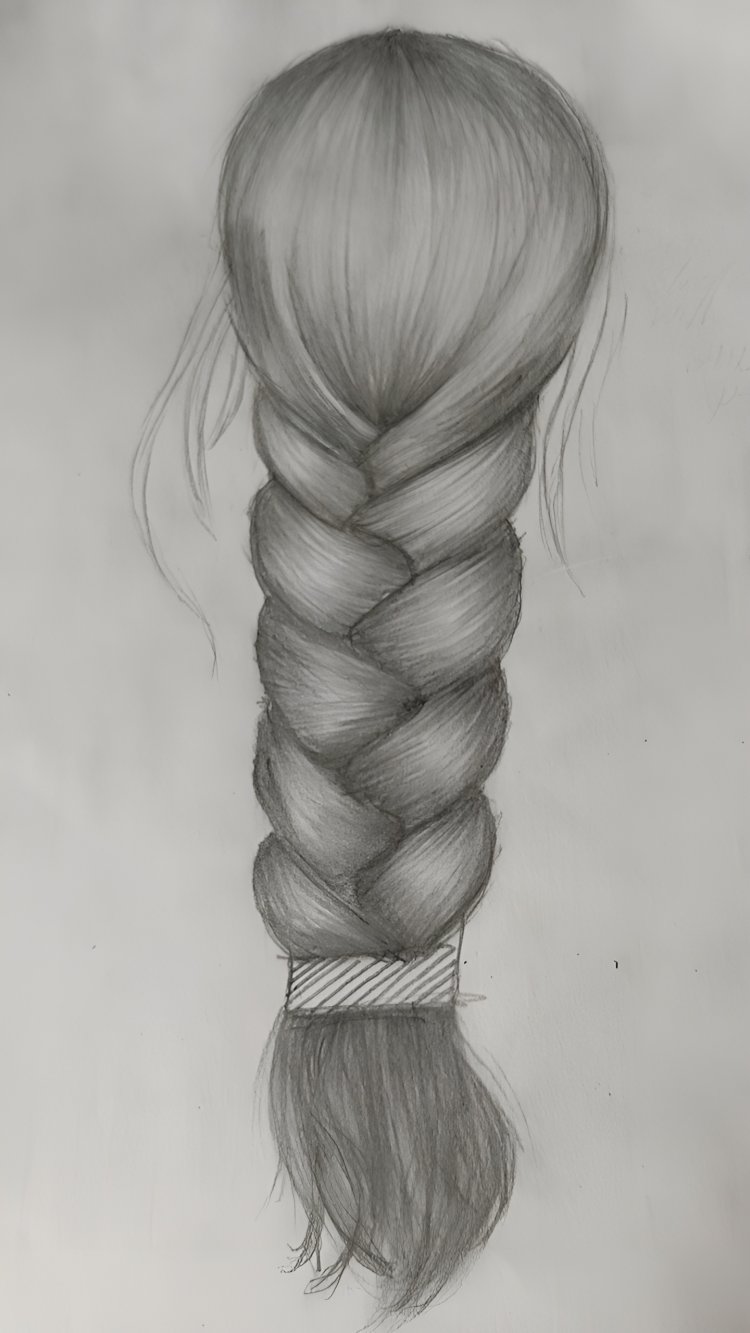
- Then blend all the stroke lines with the paper stump. It is not important to you to just blend with paper stump; you can use any brush tool you have. For example, you can use tissue paper or a brush. You can also use a makeup brush instead of a paper stump.
- Again Draw stroke lines with a 7B or 6B pencil. Draw strokelines according to the direction of the hairs and where the hairs are growing.
- Blend these strokes again. This process of repetition makes your hair grow slowly.
- Always go from lighter to darker shades of pencil.
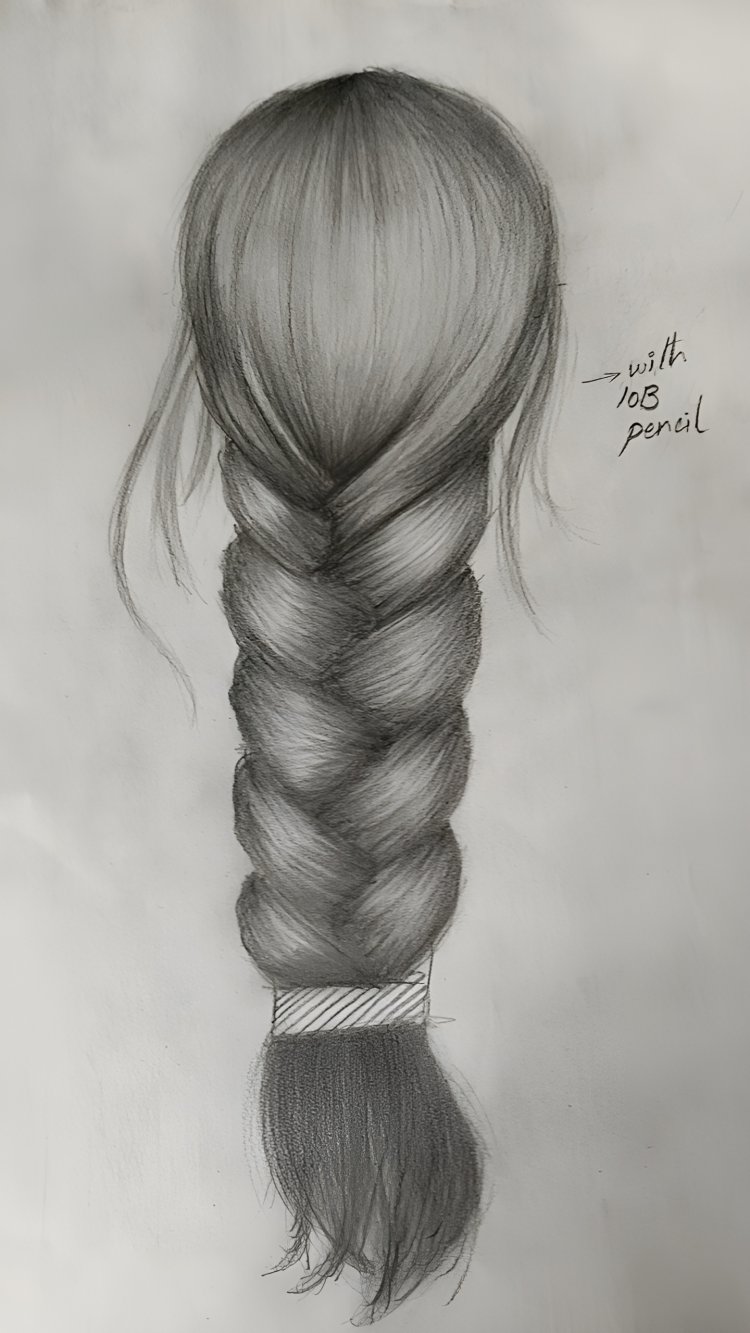
- Now again, draw strokes with a charcoal pencil or 10B pencil. I know you feel boring, but if you really want to do some real work, you should follow my instructions.
- Again, blend it. This repeating process will be hard for you, but I guarantee it will improve your art of hair.
STRUCTURE OF THE BRAIDS
You should learn this lesson because it will be useful in this tutorial. Which is the drawing of a braid. Now take your pencil and paper and draw with me. So let’s begin.
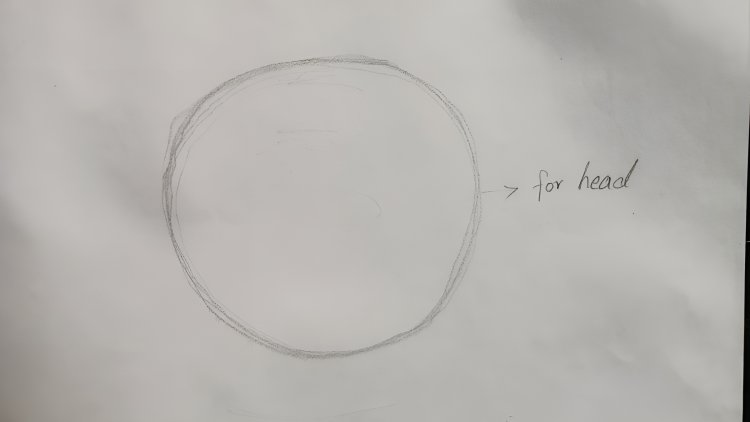
Step#1
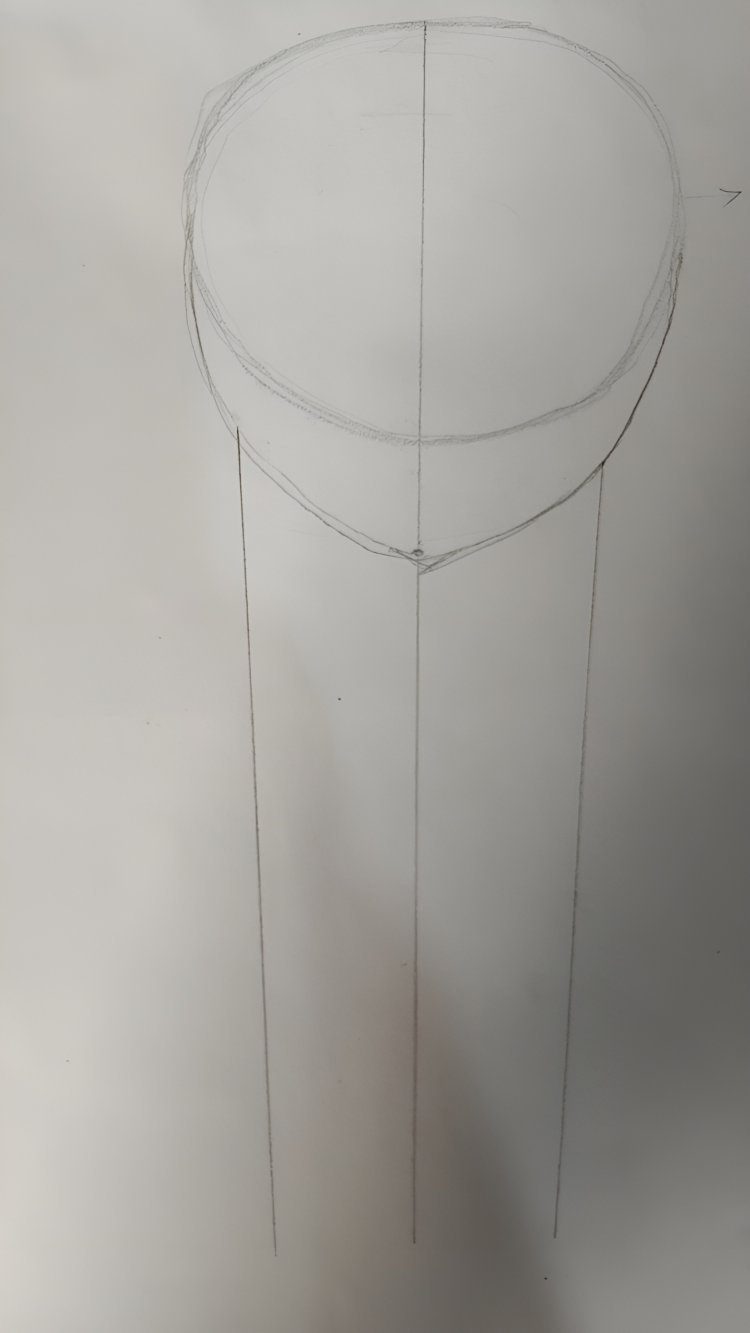
On the paper, draw a circle in the centre. Since I draw the girl's face, this circle represents the girl's head or the head of any woman I don't know.
Step#2
In the centre of the circle, a straight line should be drawn. The bottom side of the circle has a much longer version of this line. We use it to keep our braid straight, so I draw it.
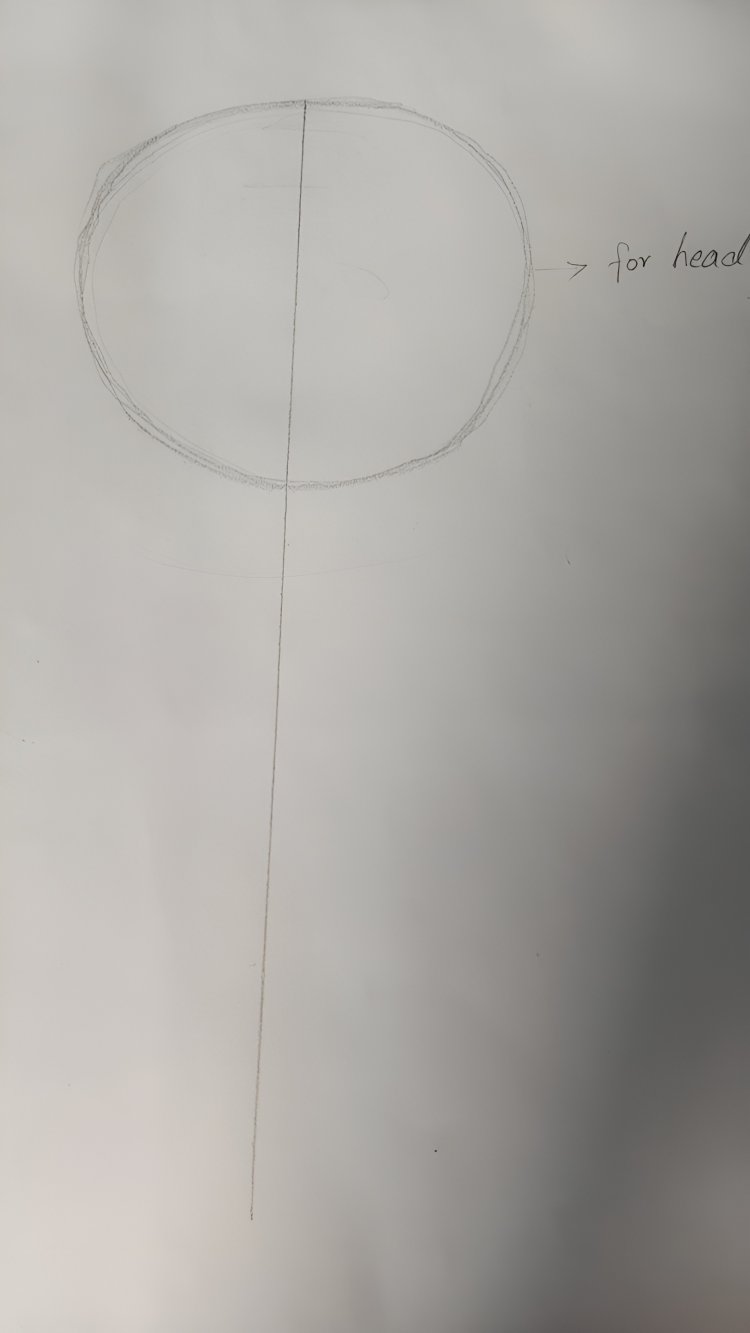
IMPORTANT THING: you draw it with a lighter pencil because it is only a guideline for our drawing and helps us to draw the structure of the object. And after we complete our structure, we will erase all the guidelines.
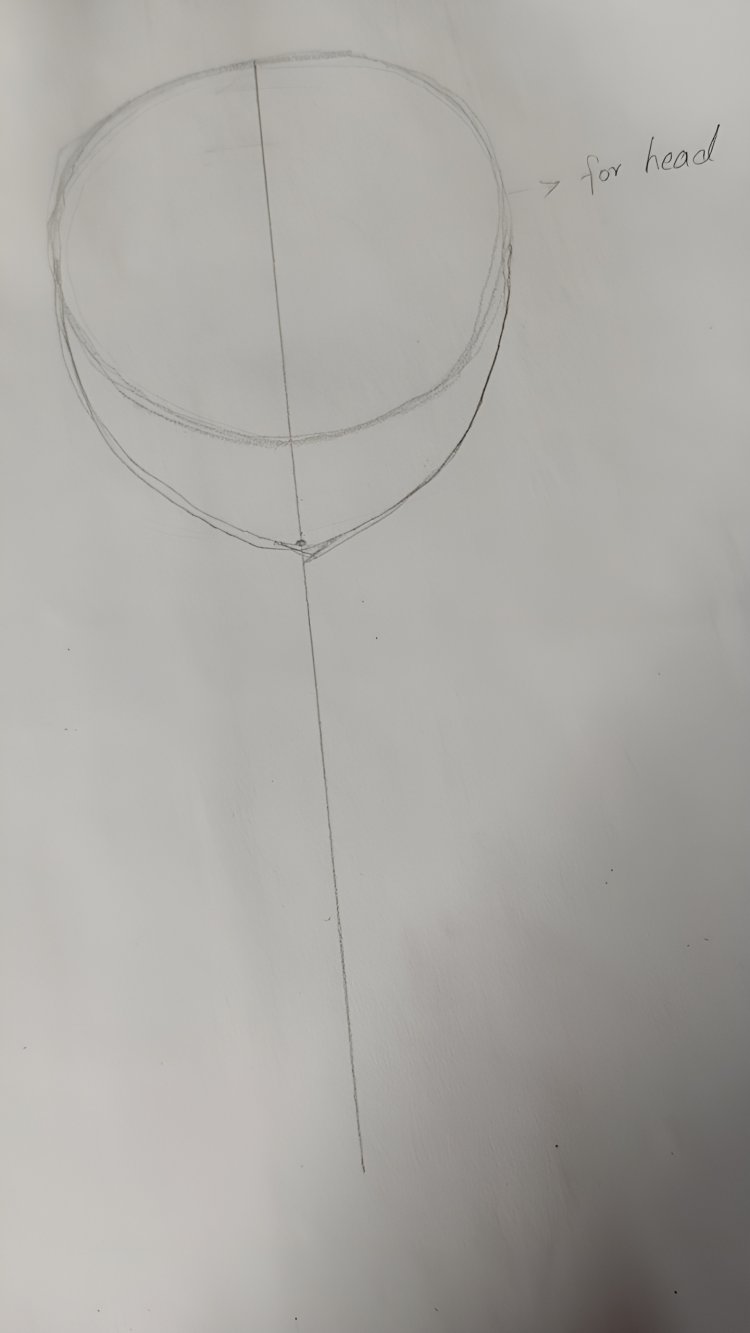
Step#3
Draw two carved lines and join them at the central point. It is the starting point of our braid.
Step#4
Draw two lines on the right and left sides of the central line. It is the boundary line of our braid. It helps to make all our braid parts equal.
Step#5
Draw a zik-zak line on the centre line. It is the central part of our braid. And also draw y at the bottom of the circle; this is also touches the z line.
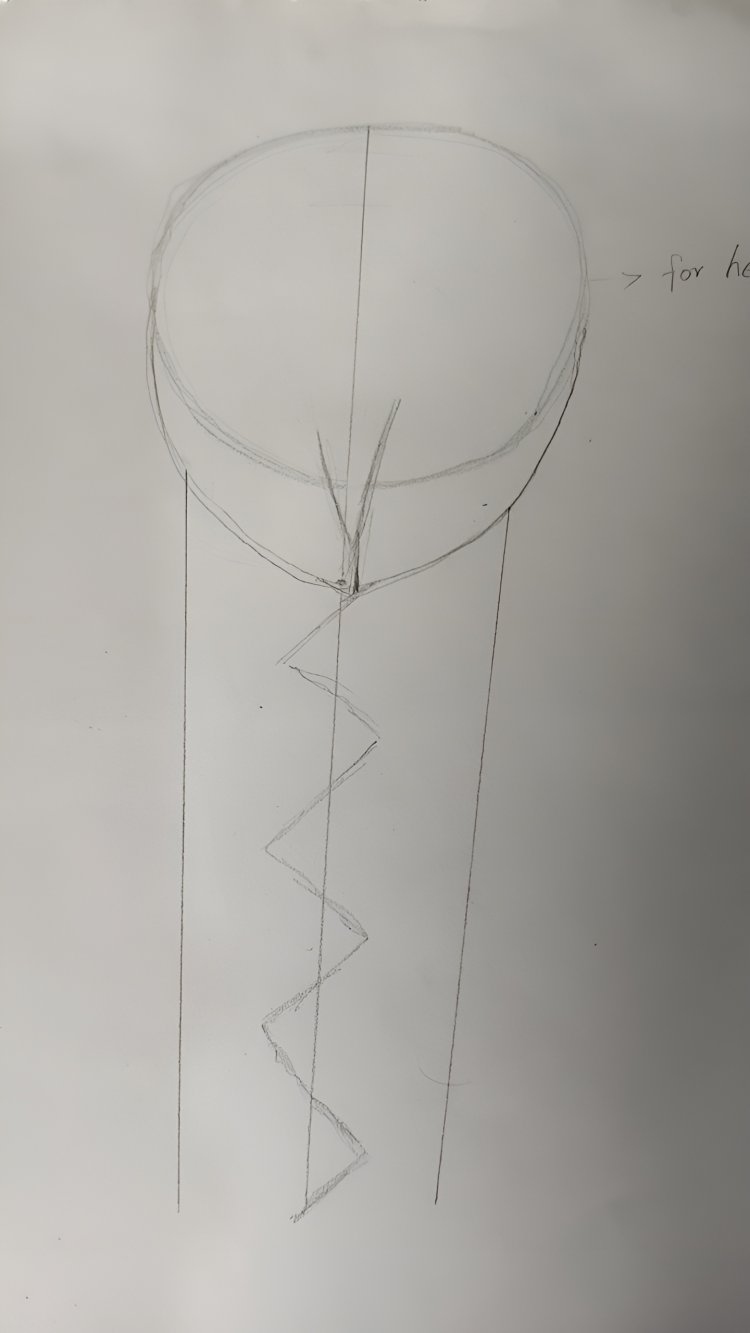
Step#6
Connect all the zigzag edges with the right and left lines using the chiro line. This line is called a wavy line, but you can also think of it as a 'c' or the upside-down c' because it looks like a c. If you don't understand My words, then see the picture I have given below. I hope this helps you understand what I mean.
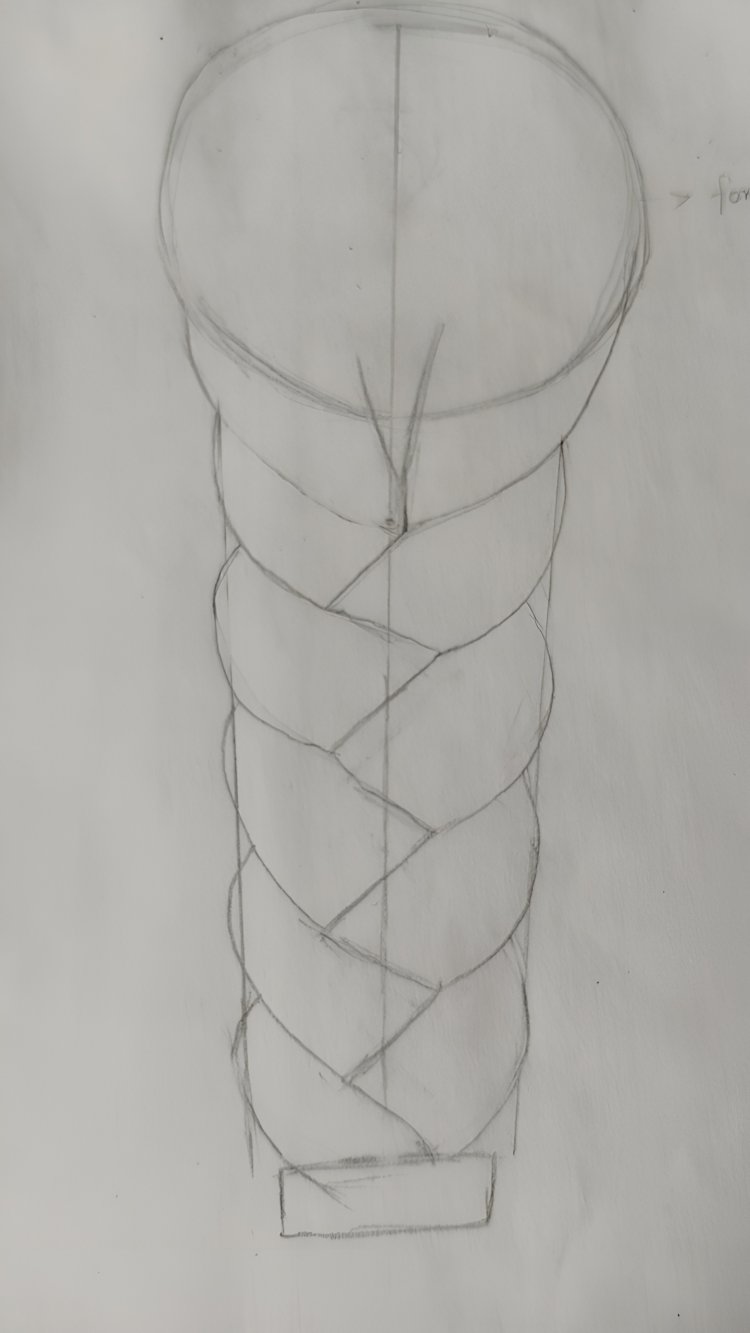
Step#7
Draw carved strokelines for drawing the bottom part of the braid.
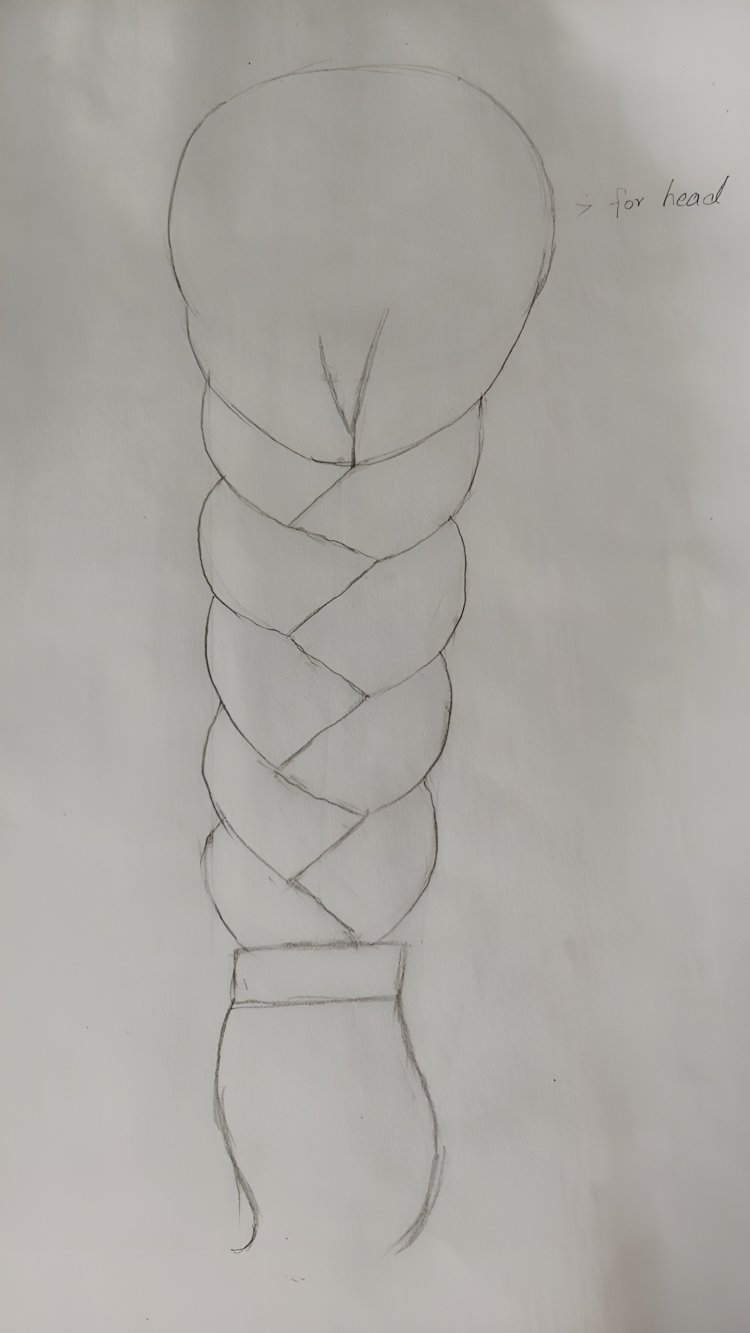
Step#8
Draw the hair on the sides of the head. It makes it more beautiful.
Finally, our structure for braided hairstyles is complete. Now it's time to mix it up. And brings the hair to life, as blending is one of the most unique processes that actually brings the drawing to life. I use the words alive and spirit. This does not mean that the drawing will survive. But I have to say it looks very realistic.

Blend the hair:
It is time to follow my instructions, which I write or say at the beginning of the essay. I hoped you remembered it. At this point, it has to be applied to create realistic hair. So let's start our last steps.
Step#1
In our very first step, draw the hairs on the head one by one. In our first stroking lines, you should use a lighter pencil, such as 2HB. And in this step, delete all unnecessary guidelines.
Tip: When making stroke lines, hold your pencil by the back of the pencil tip. This helps you create long stroke lines.
Step#2
Use a paper stamp or blending tool you have and blend it. During this process, you should avoid all areas where the light is falling.
Step#3
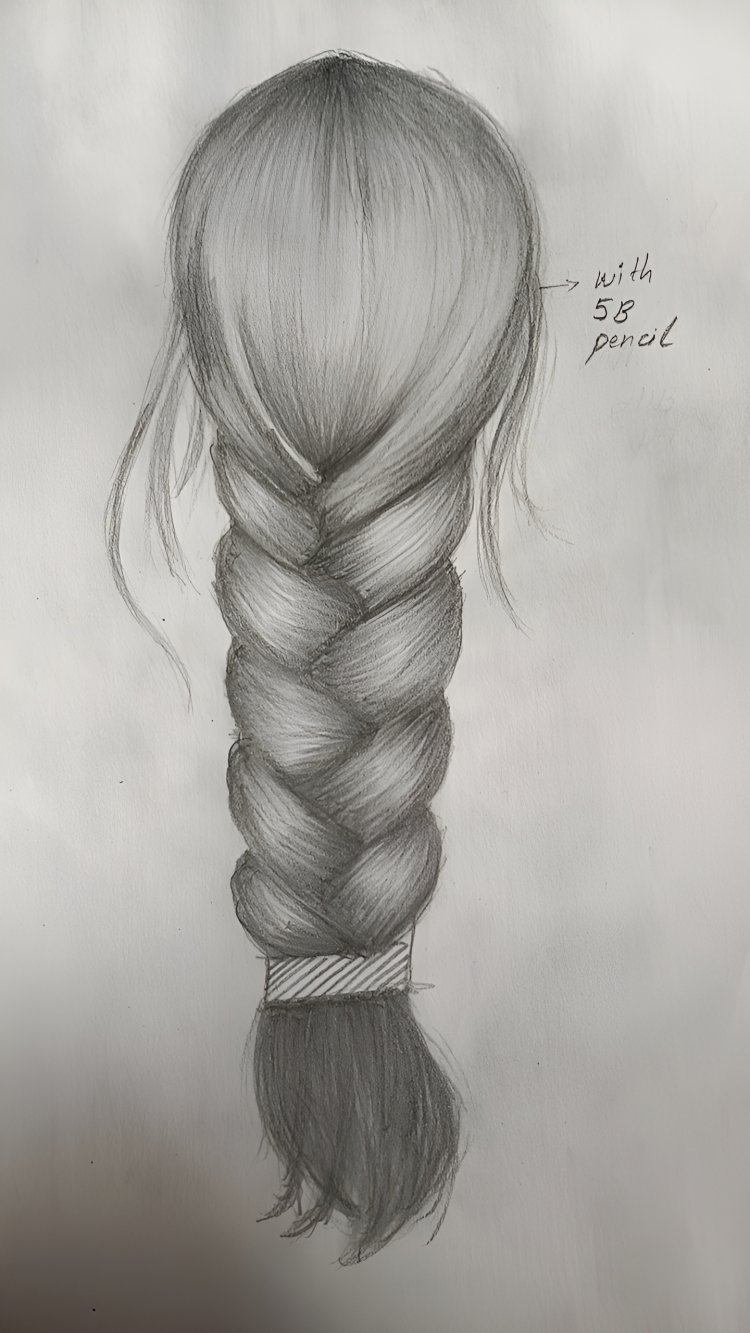
Again, draw strokes and hairline lines. But this time, you use a 4B or 5B pencil.
TIP: Realistic hair depends the number of repeating process of creating stroke lines and blending . It depends on how many times you repeat this process.
Always drawing hairs with ligher to darker pencil. Because it make your drwing maore realistic.
Step#4
Again, blend it well.
Step#5
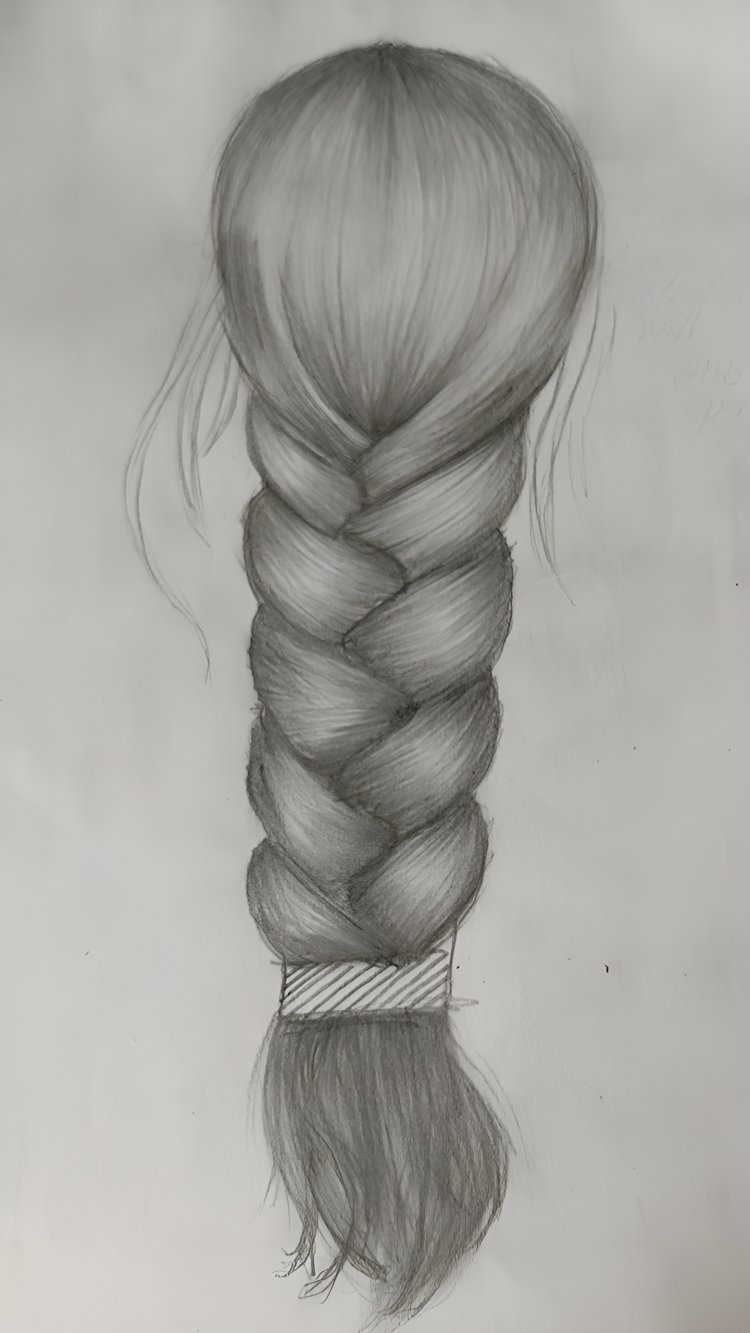
This is the second last step, and in this step, make strokes with charcoal or 10B pencil.
Step#6
Mix it one last time. Now you understand and see the difference between all the previous steps and our completed step. I hope you will like my teaching method. And I hope you liked my hair drawing.
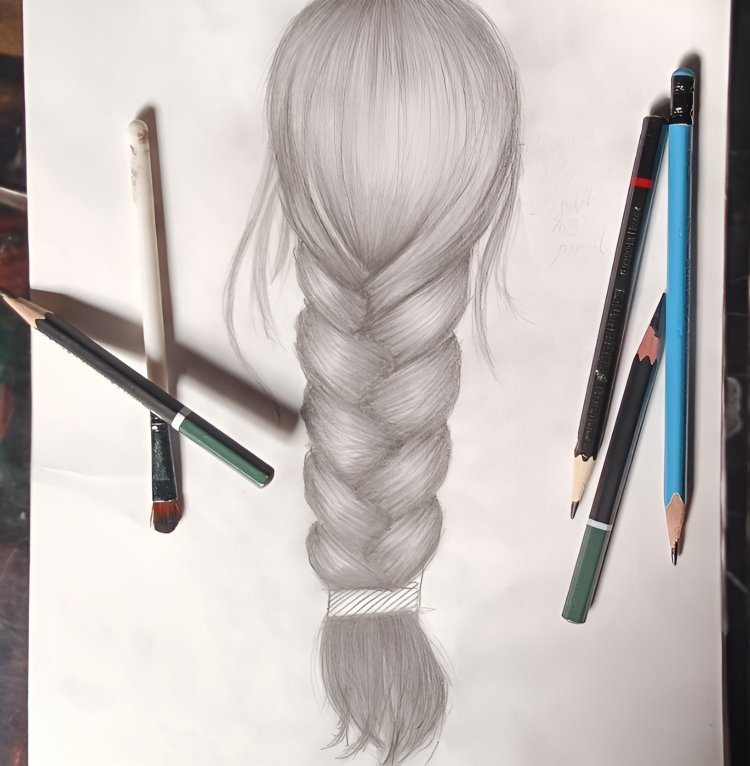
Don't get discouraged if your first braid doesn't turn out exactly how you hoped it would because practice makes perfect, so remember that. Continue practicing, and eventually your braids will develop more realistic details.
What's Your Reaction?